Tags on Shipments
Tags can be used on shipments to categorize them arbitrarily. For example, a tag could be used to keep track of what shipments still need tracking numbers. Tags can be added to one or more shipments and the tags themselves can be customized and created by you!
Quick Tagging
Under this section, we show the steps you can take to manage tags individually. In this section, we will show you a quick way to create and manage tags across multiple shipments.
On a shipment list, you can click on the tags row, and it will pop up with the option to select an existing tag, or to create a new tag:

Manual Tagging
Create a New Tag
In order to create your own customized tag, follow these steps:
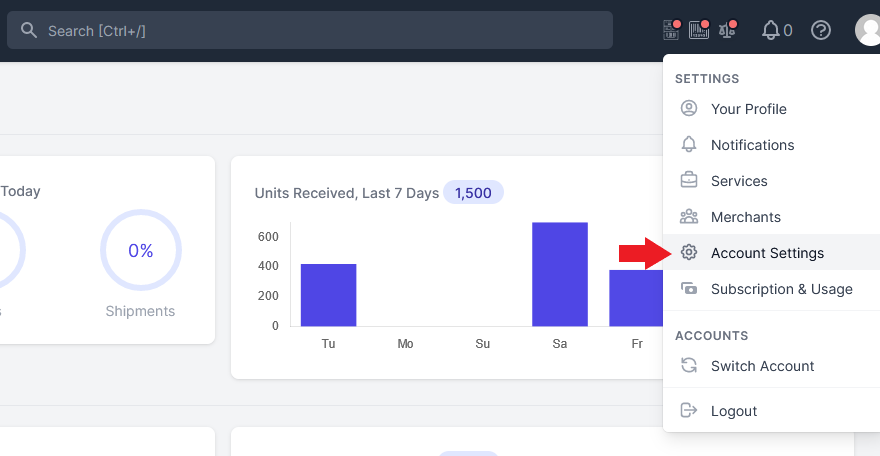
First, click on your profile image and choose Account Settings.
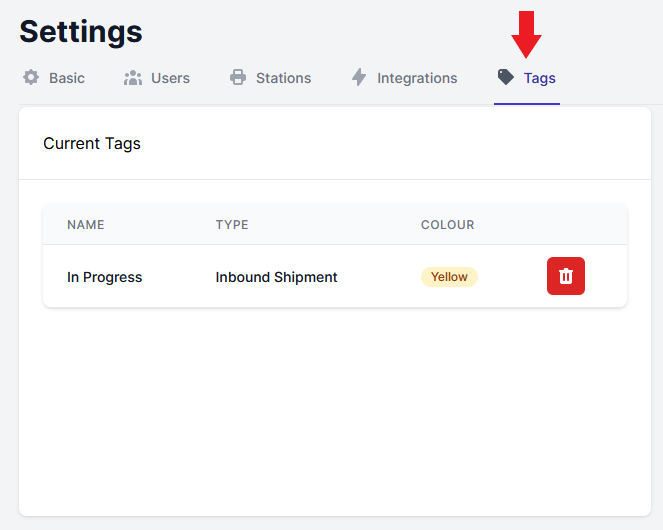
Navigate to the “Tags” tab where you can customize your tags

Next, enter in the info for your tag.
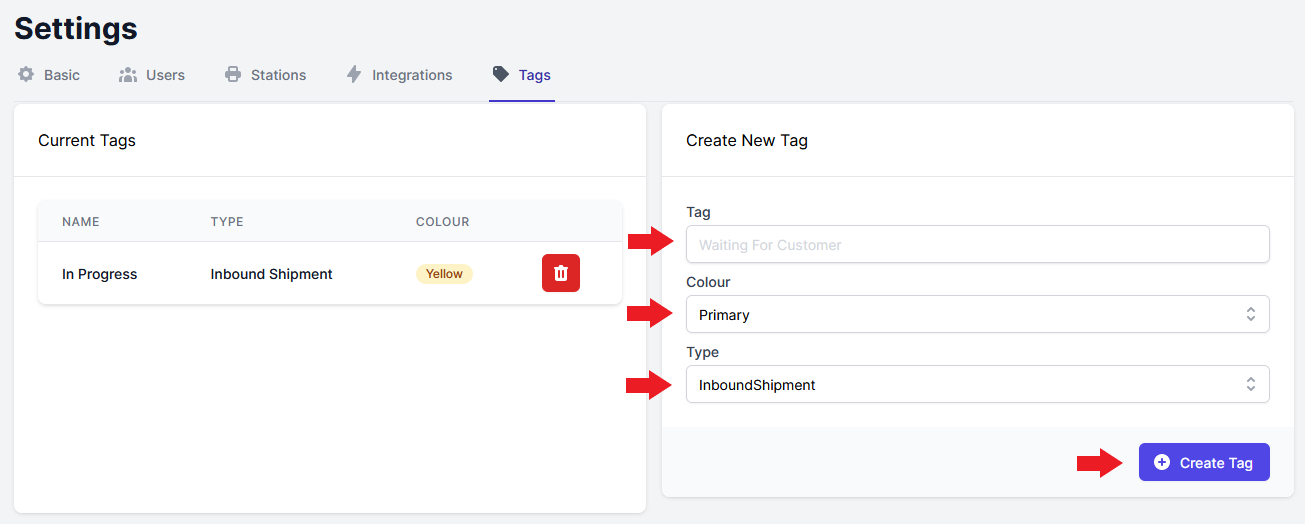
There are 3 fields that you must fill out here:
- Tag: this is where you enter the name of your tag.
- Colour: click on the drop-down arrow and a select a colour from the options available
- Type: select the type of entity you want this tag to apply to.
Finally, select “Create Tag” to finish the process. You may create any number of tags.
Delete a Tag
Deleting a tag is a very simple process:
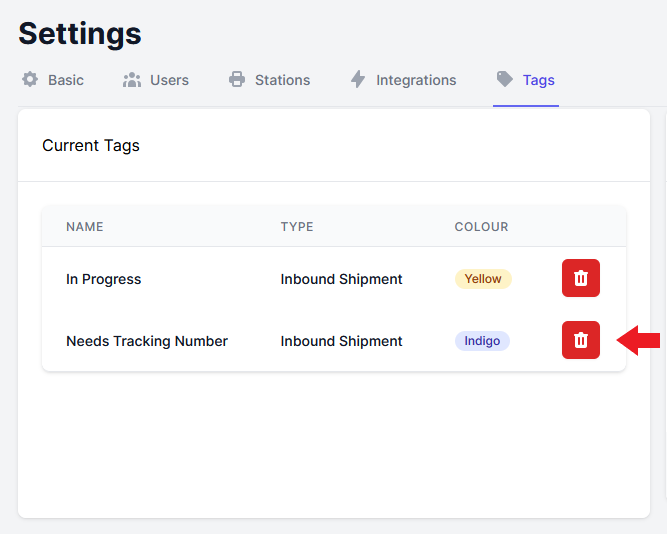
- Navigate to your account settings and select the “Tags” tab.
- Click on the garbage can icon beside the tag you wish to delete. A pop up will appear to confirm that you want to delete that tag.
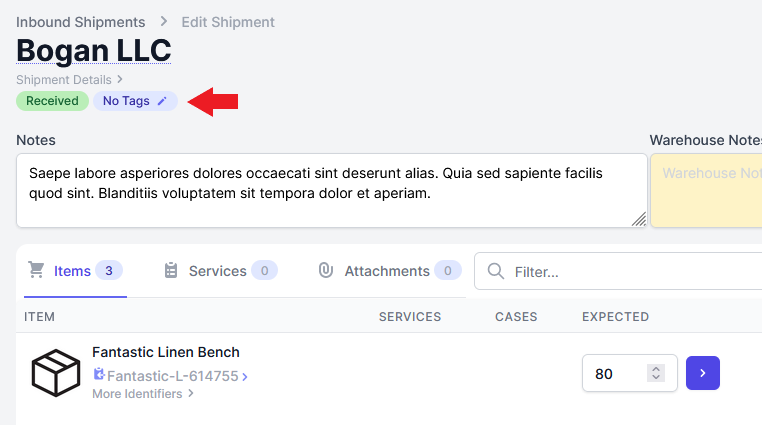
Add Tags to a Shipment
To a tags to a shipment follow these steps:
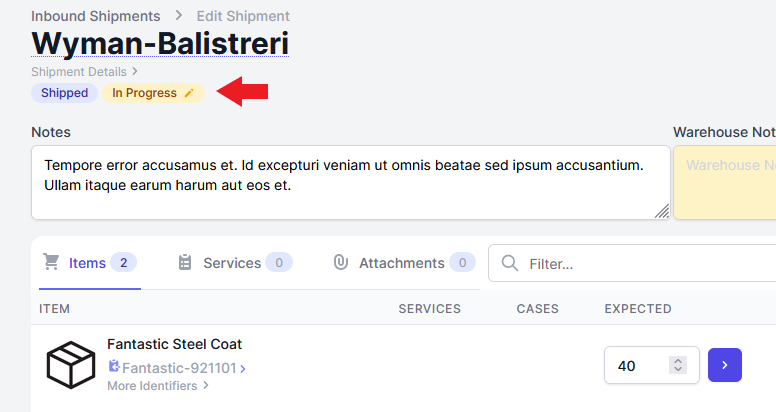
- Click on the shipment that you wish to add tags to.
- Once you are within the shipment select the pen beside the tag label. If there are already tags added to the shipment, select the pen beside any one of the tag’s labels.
- A slide over page will appear. Here you can select the tag you wish to add from the drop-down menu.
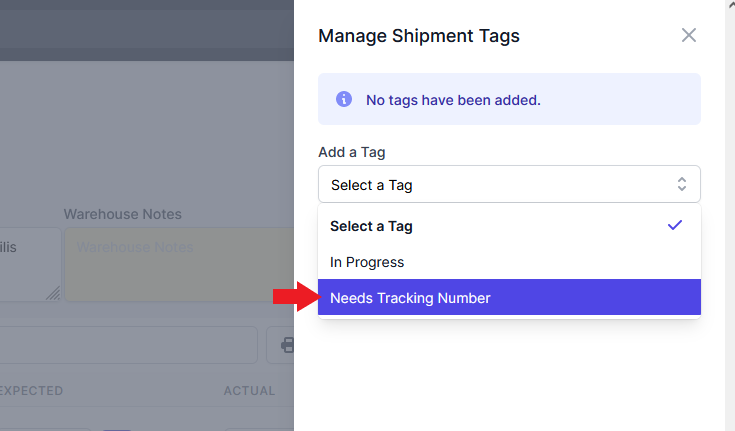
- You may add any number of tags to a shipment. To add another tag, simply select the next one you want from the list.
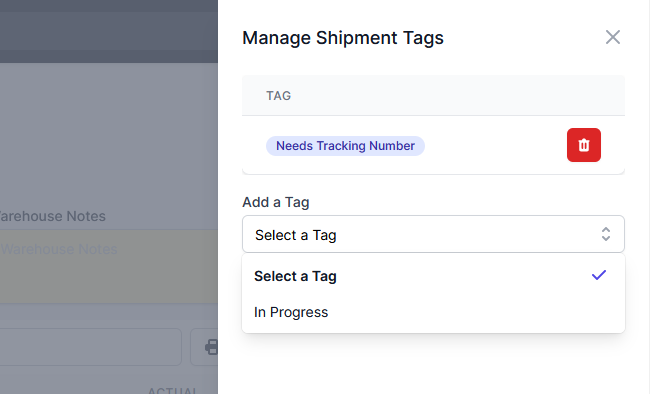
- Once you have added all the tags you wish to, select the “Save” button on the bottom right of the page.
Add Tags to Multiple Shipments at a Time
You may wish to add the same tags to multiple different shipments. You can add the tags to all the shipments at once by following these steps:
- Select all the shipments you wish to add the tags to.

- Then click on the “Bulk Actions” drop-down in the top right corner of the page and select “Add Tags to Shipments”.
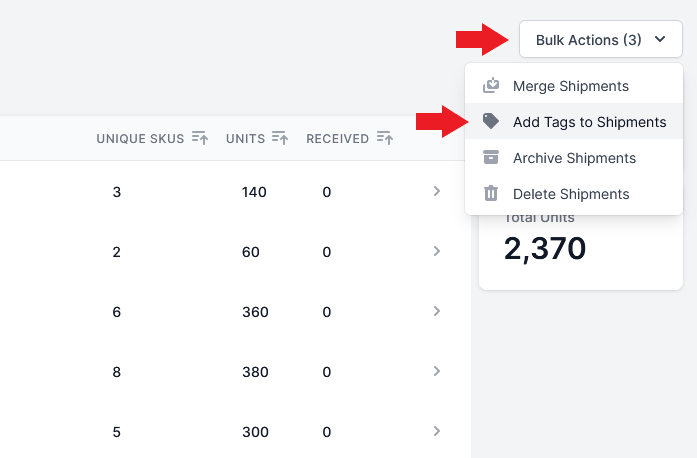
- A slide over page will appear. Select all the tags you wish to add to the shipments.

- Click on the “Save” button on the bottom right of the page to save your changes.
Remove Tags from a Shipment
To remove tags from a shipment follow these steps:
- Open the shipment which you wish to remove tags from.
- Select the pen beside any of the labels on the shipment.
- Click on the garbage can icon beside the tags you want to delete.

- Select the “Save” button to save your changes.