Simple Order Fulfillment Using Outbound Shipments
When you have occasional order fulfilment or direct to customer needs, your best bet is to use Outbound Shipments to set up shipments to the customer rather than using our more fully-featured Orders feature. This document will take you through the process of creating an outbound shipment (which your merchant will likely be doing from their portal) and managing the shipping process.
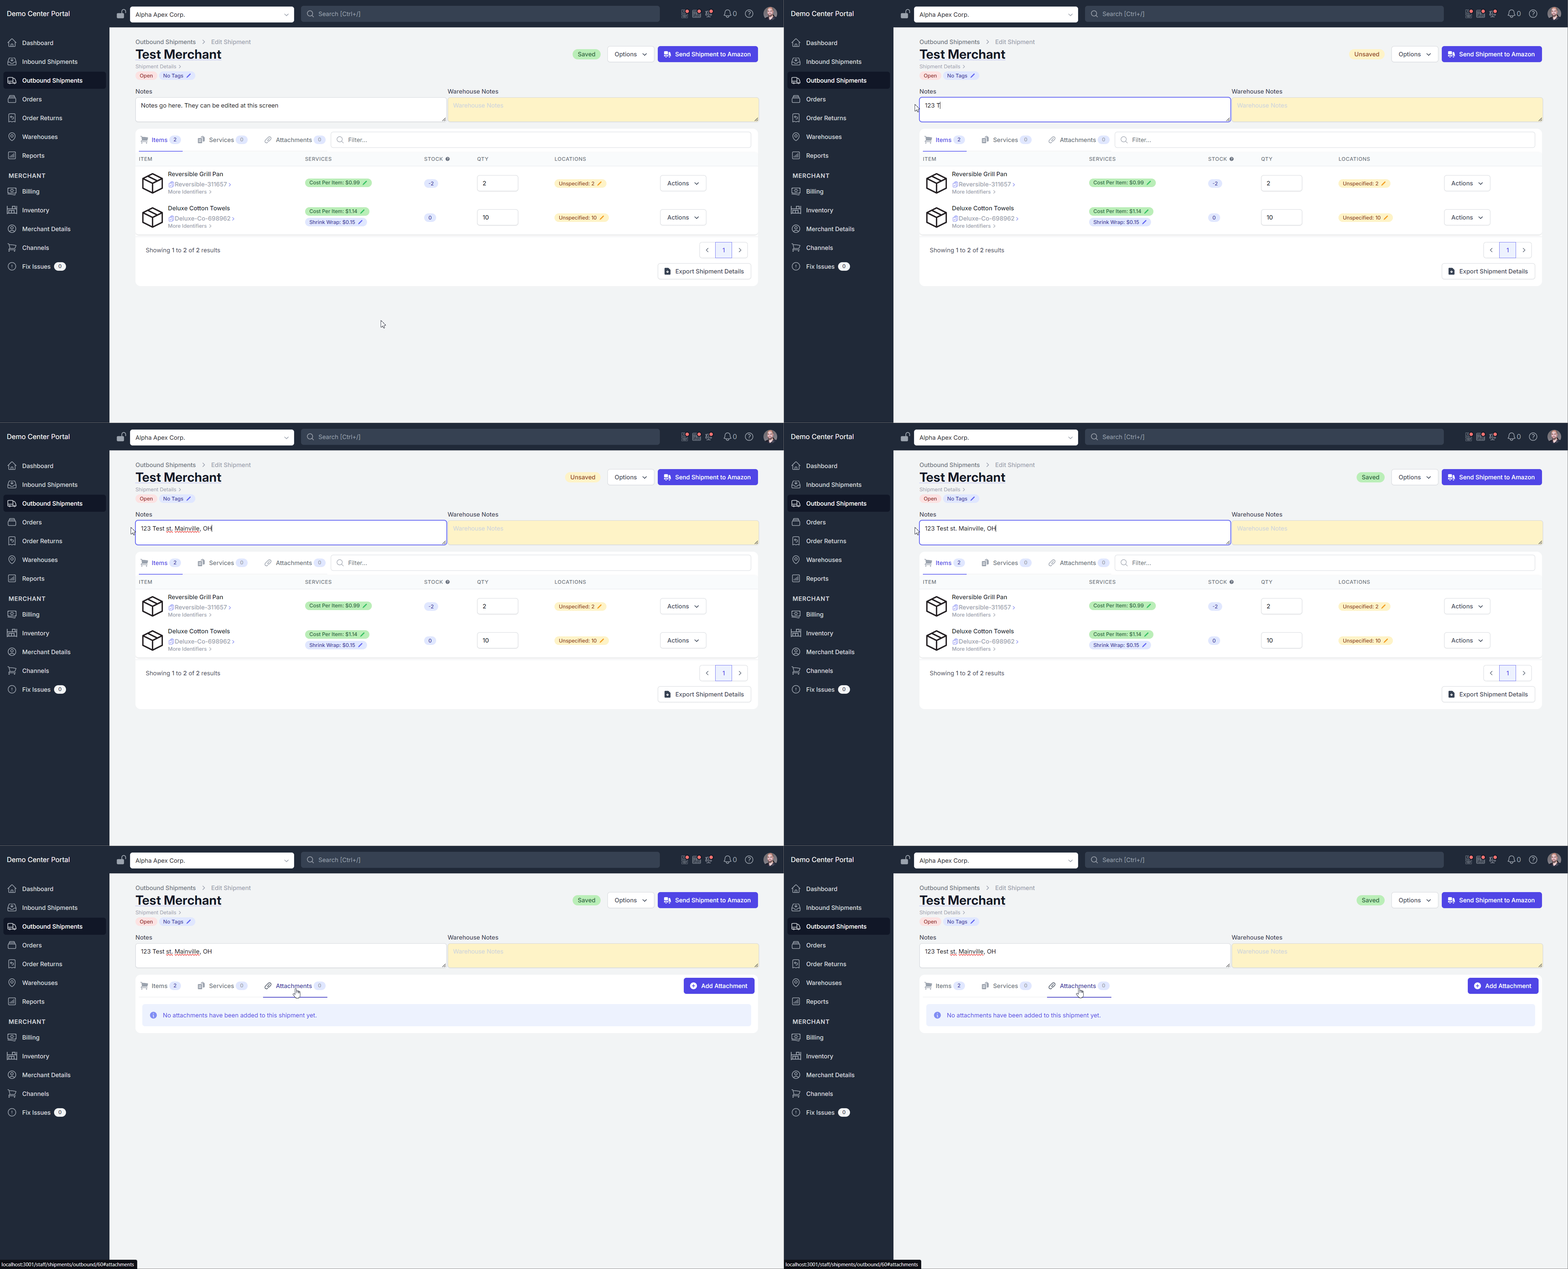
From the lefthand menu, select Outbound shipments. Click the button at the top right to create a new shipment.
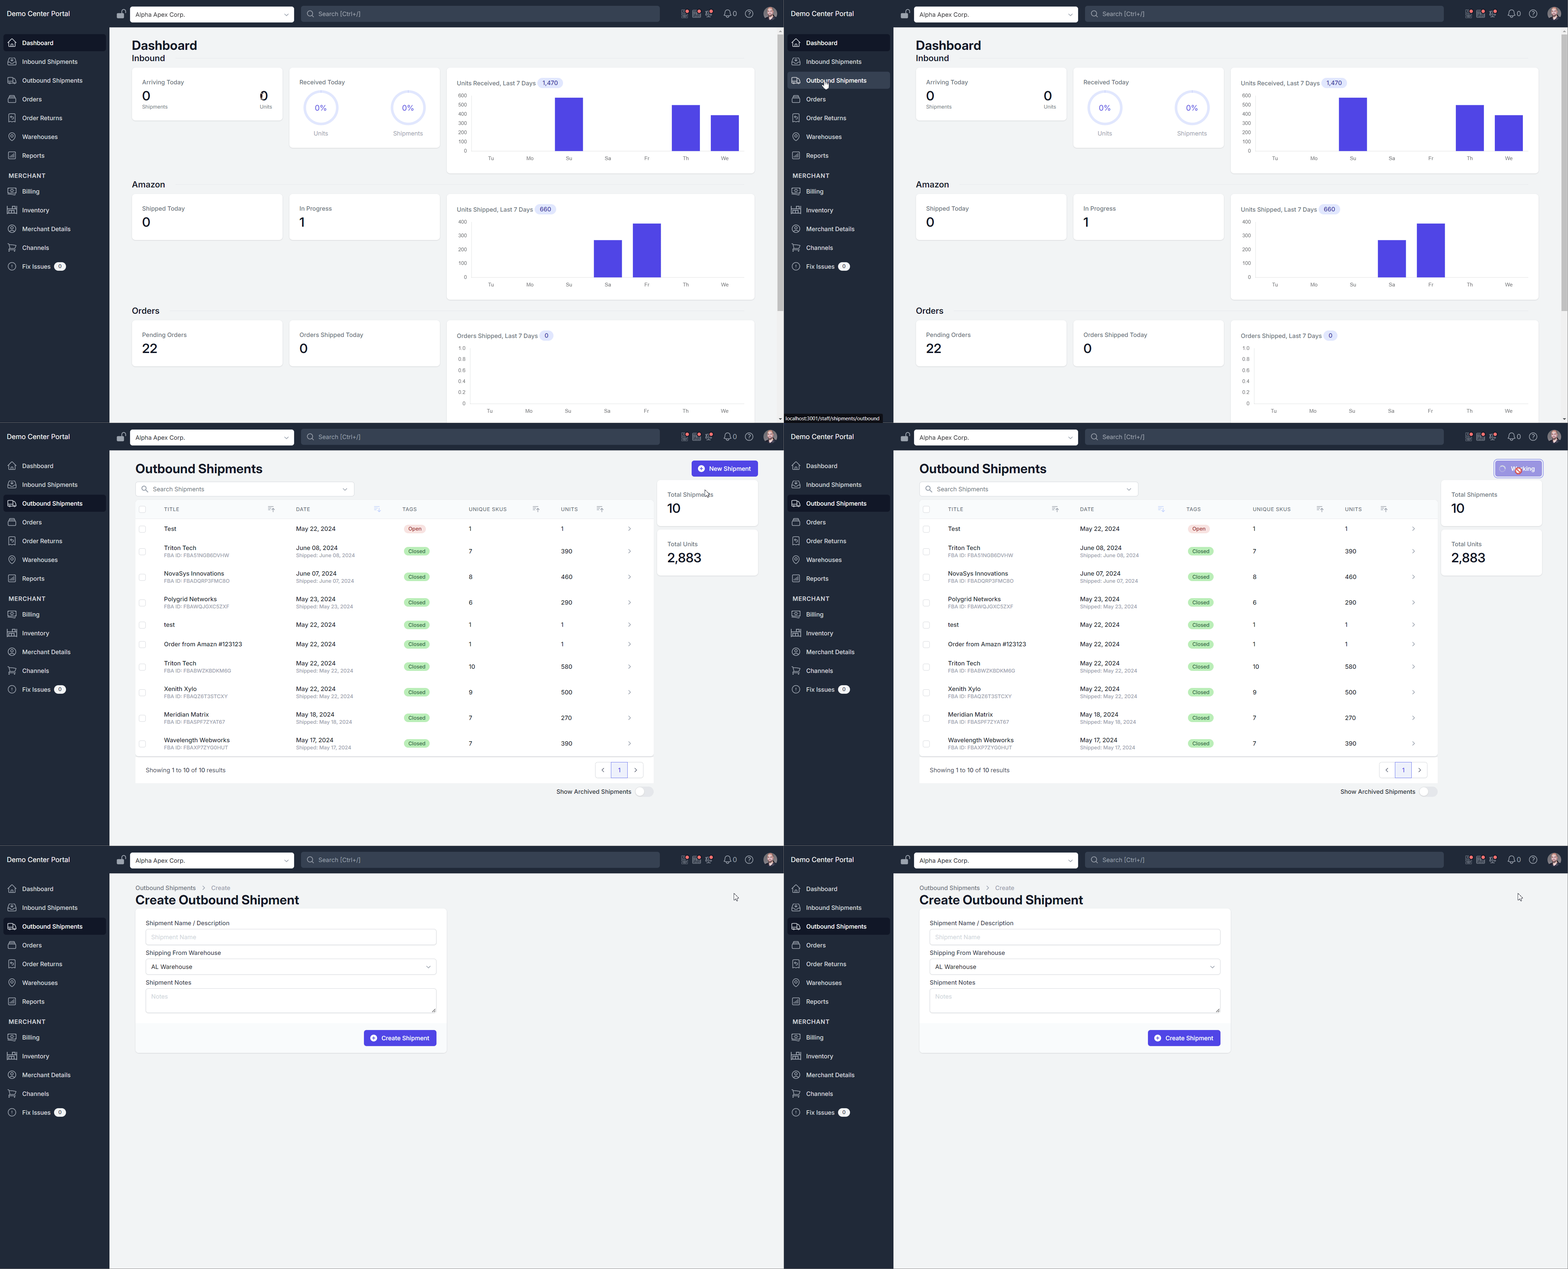
Enter a name for the shipment. Usually this would include the name of the Merchant. Your warehouse will automatically be selected. There is an optional area for any notes you wish to include, though they can also be edited at the shipments page.
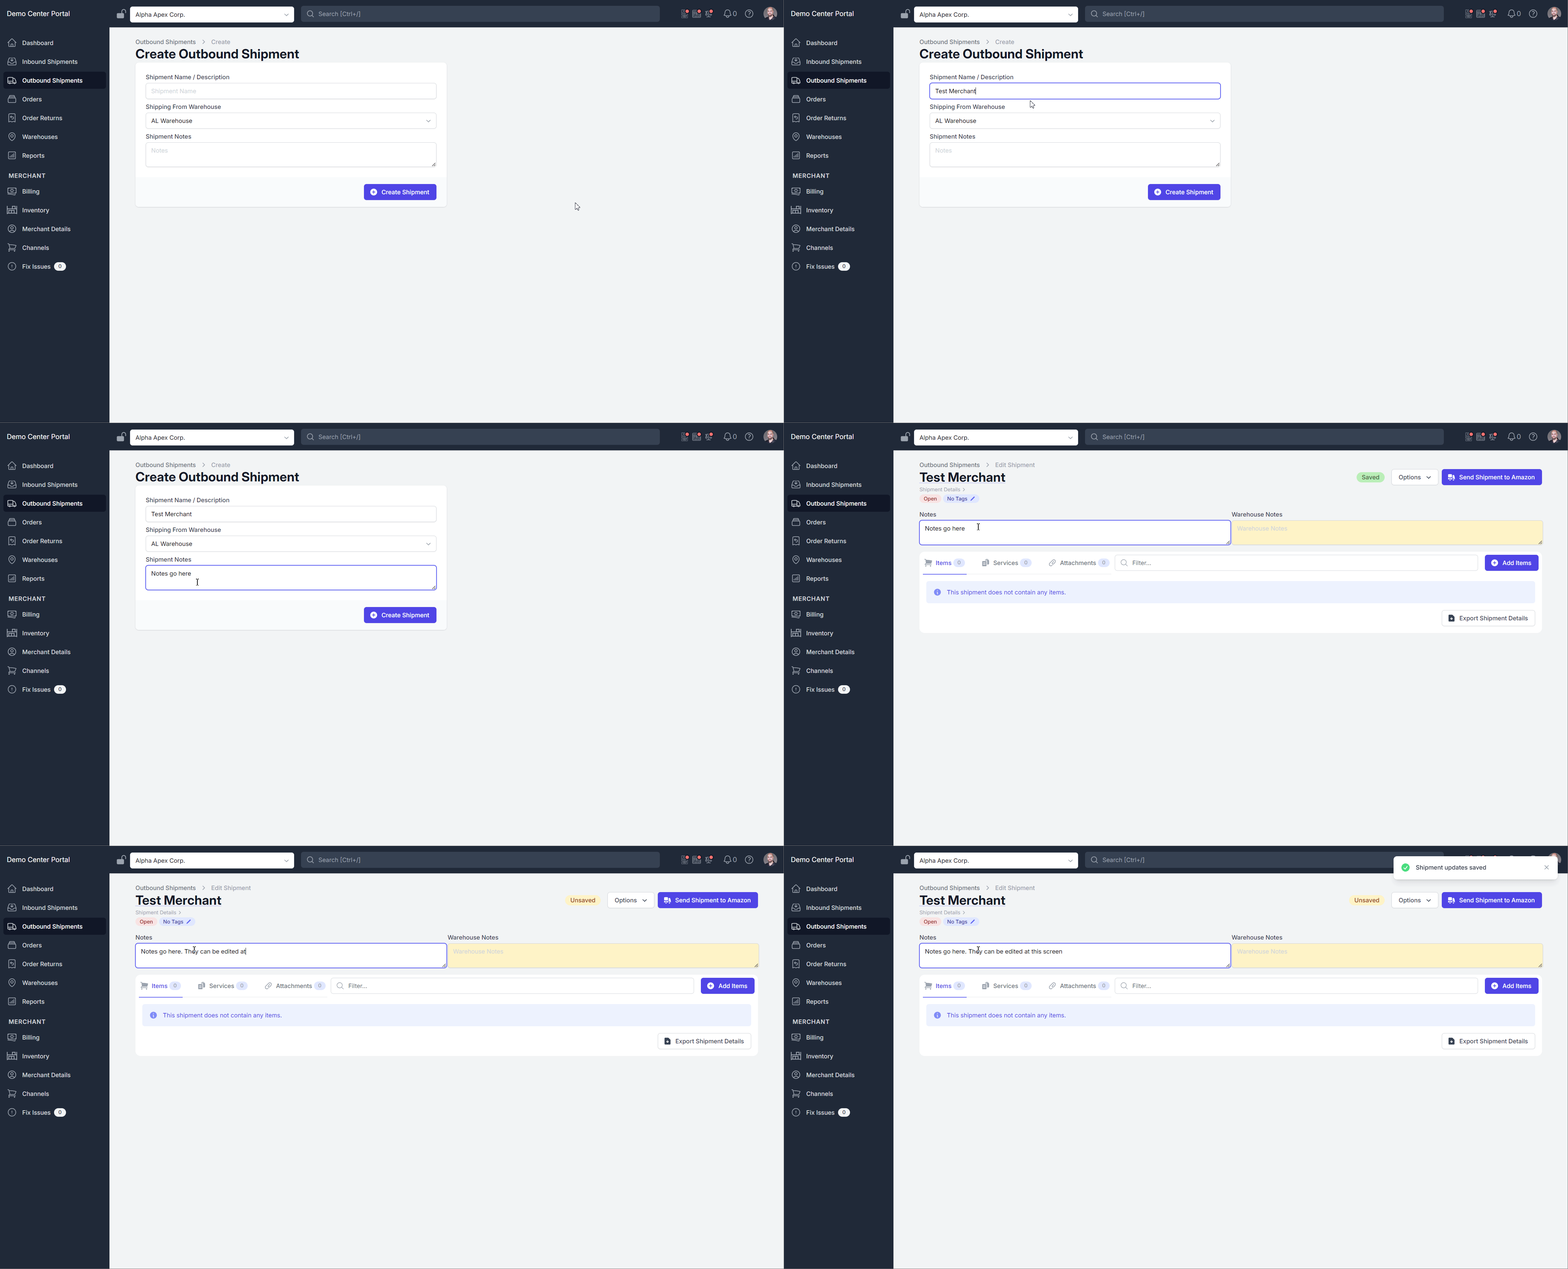
Here, you can add items by selecting the corresponding button on the right. This will display all the items available for this shipment. You can either scroll through the list, or filter items by typing their name at the top.
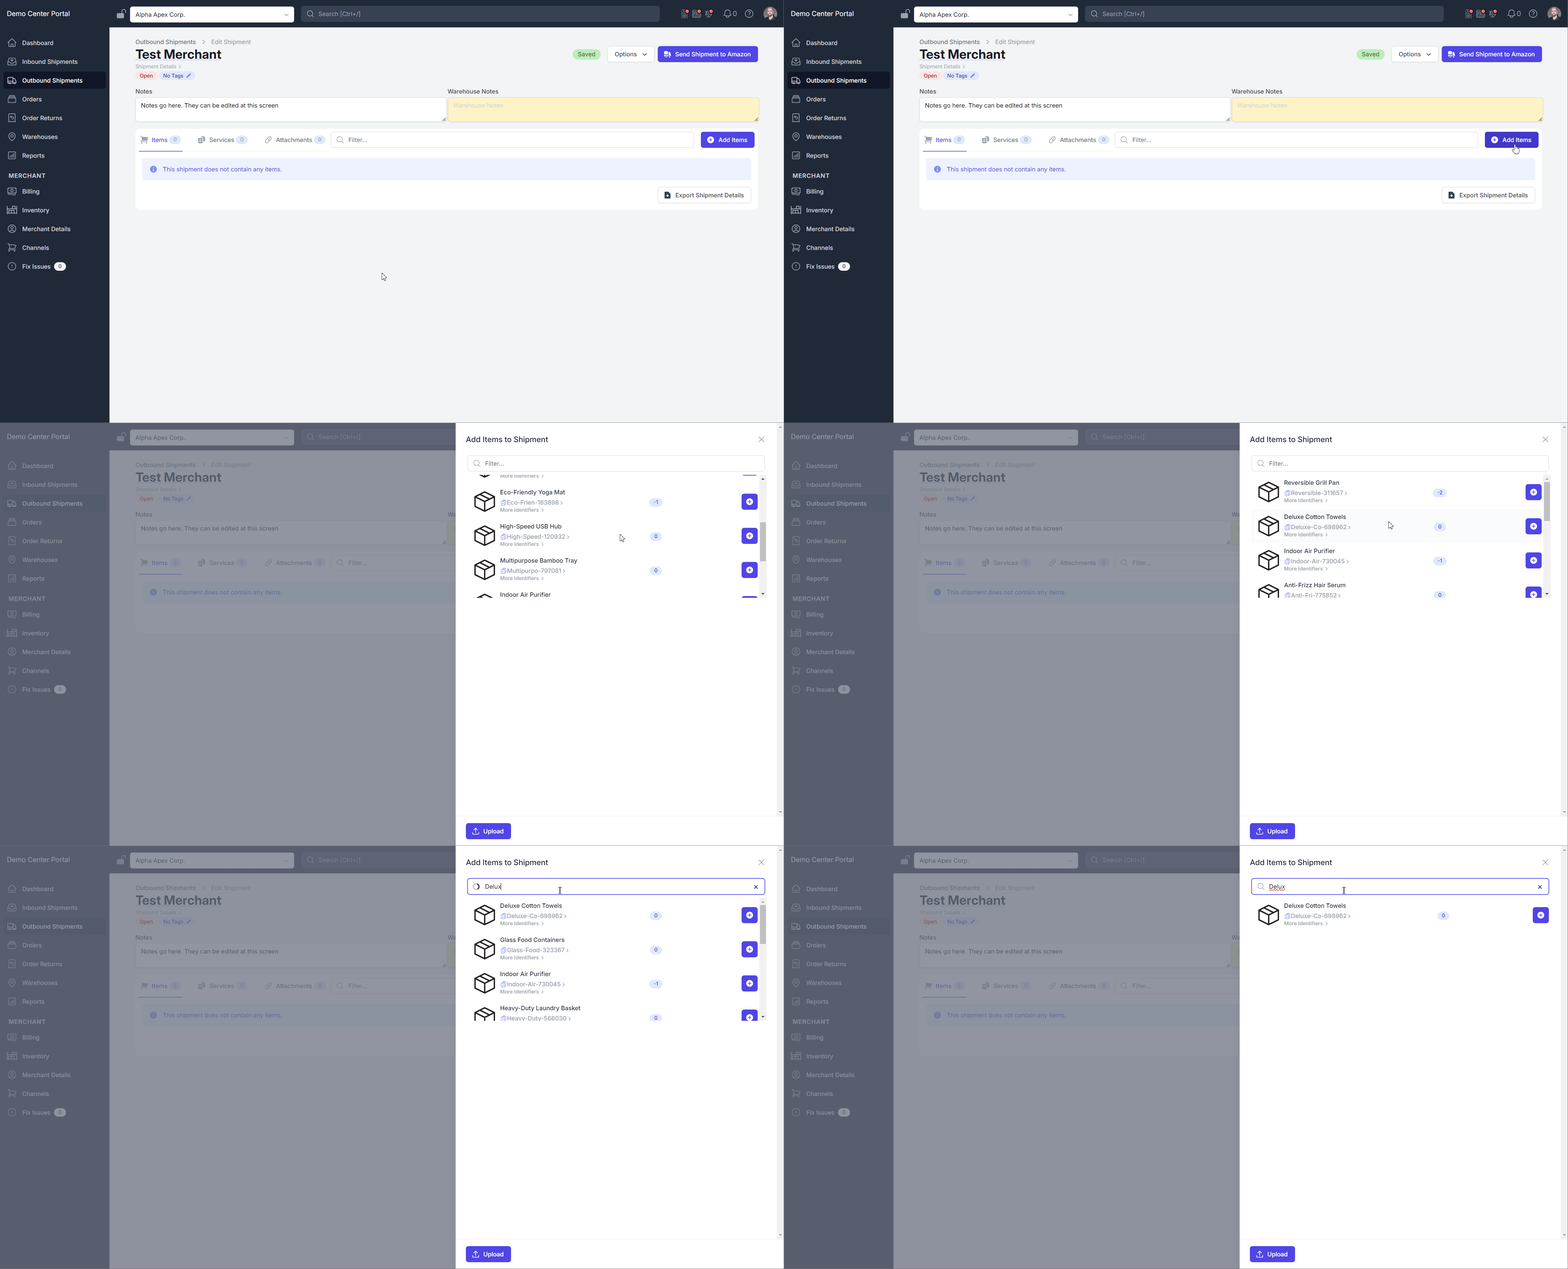
Clicking the Plus (+) button will add that to the selected items pane, where you can specify the quantity of the item. You may also add additional items to the shipment. When finished, Click the “Add Items” button at the bottom right to include them in the shipment.
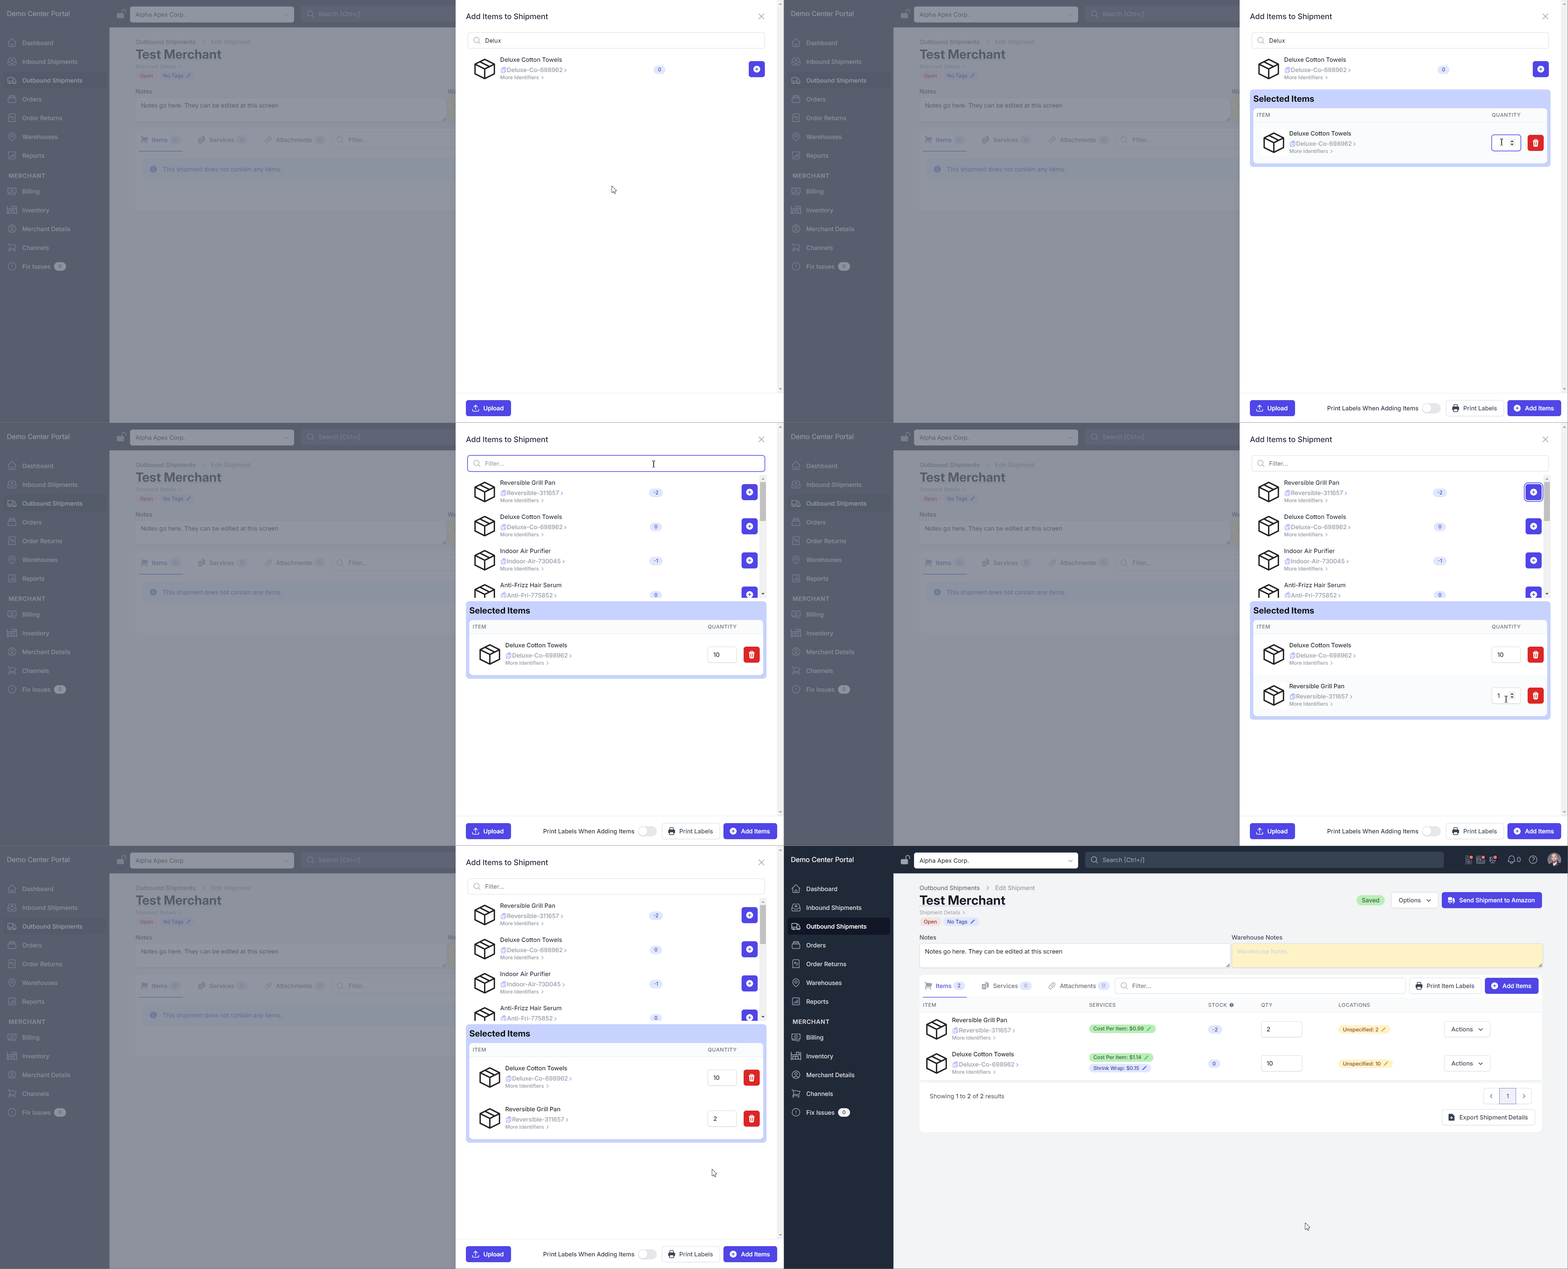
Once all of the items are in the shipment Item list, you can either enter the address of the recipient in the notes section, or you can select the Attachments tab and upload a shipping label if you have one.
The shipping label will not be generated automatically for you, so if your merchant does not provide a label via Attachments, you will need to use an external service like Shippo or ShipStation to create those labels.
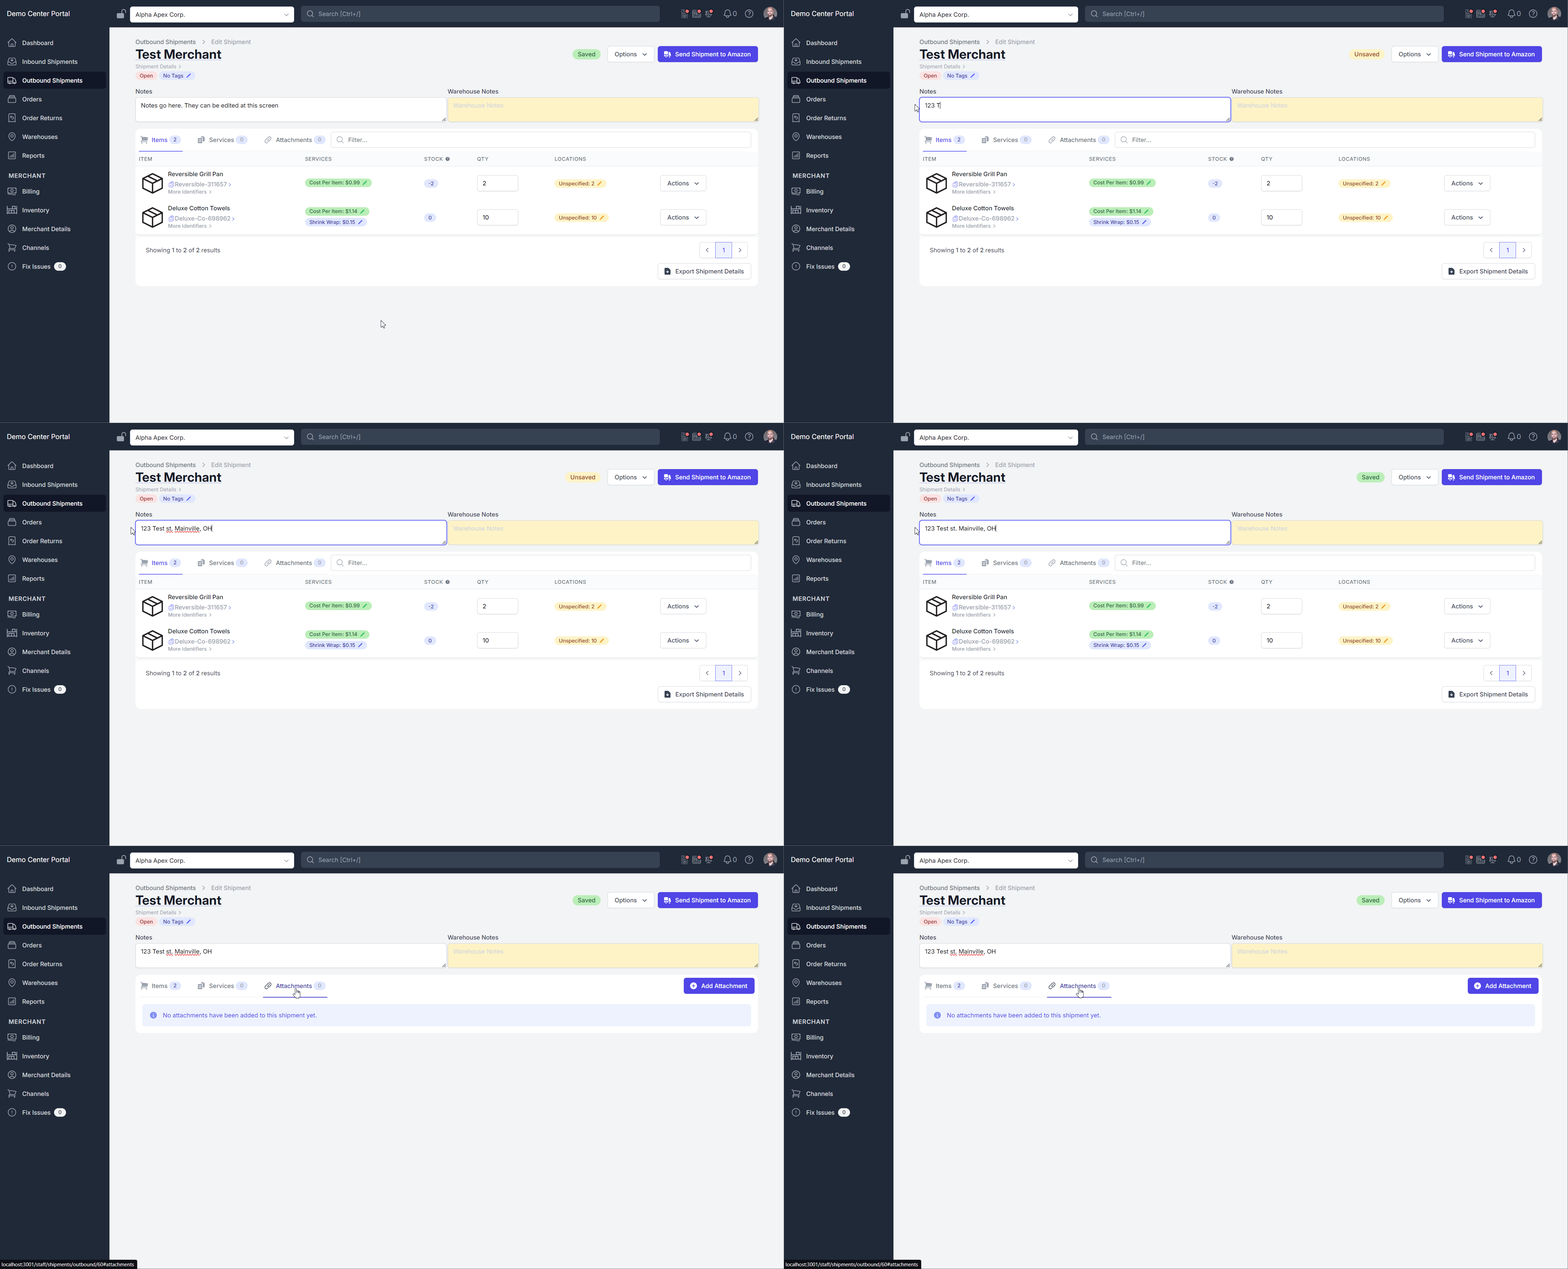
Click Add Attachment, then select the “Choose File” button to select a file from your computer. Enter an attachment name, such as “Shipping Label”. Once you have the document uploaded, click the “Attach” button at the bottom right.
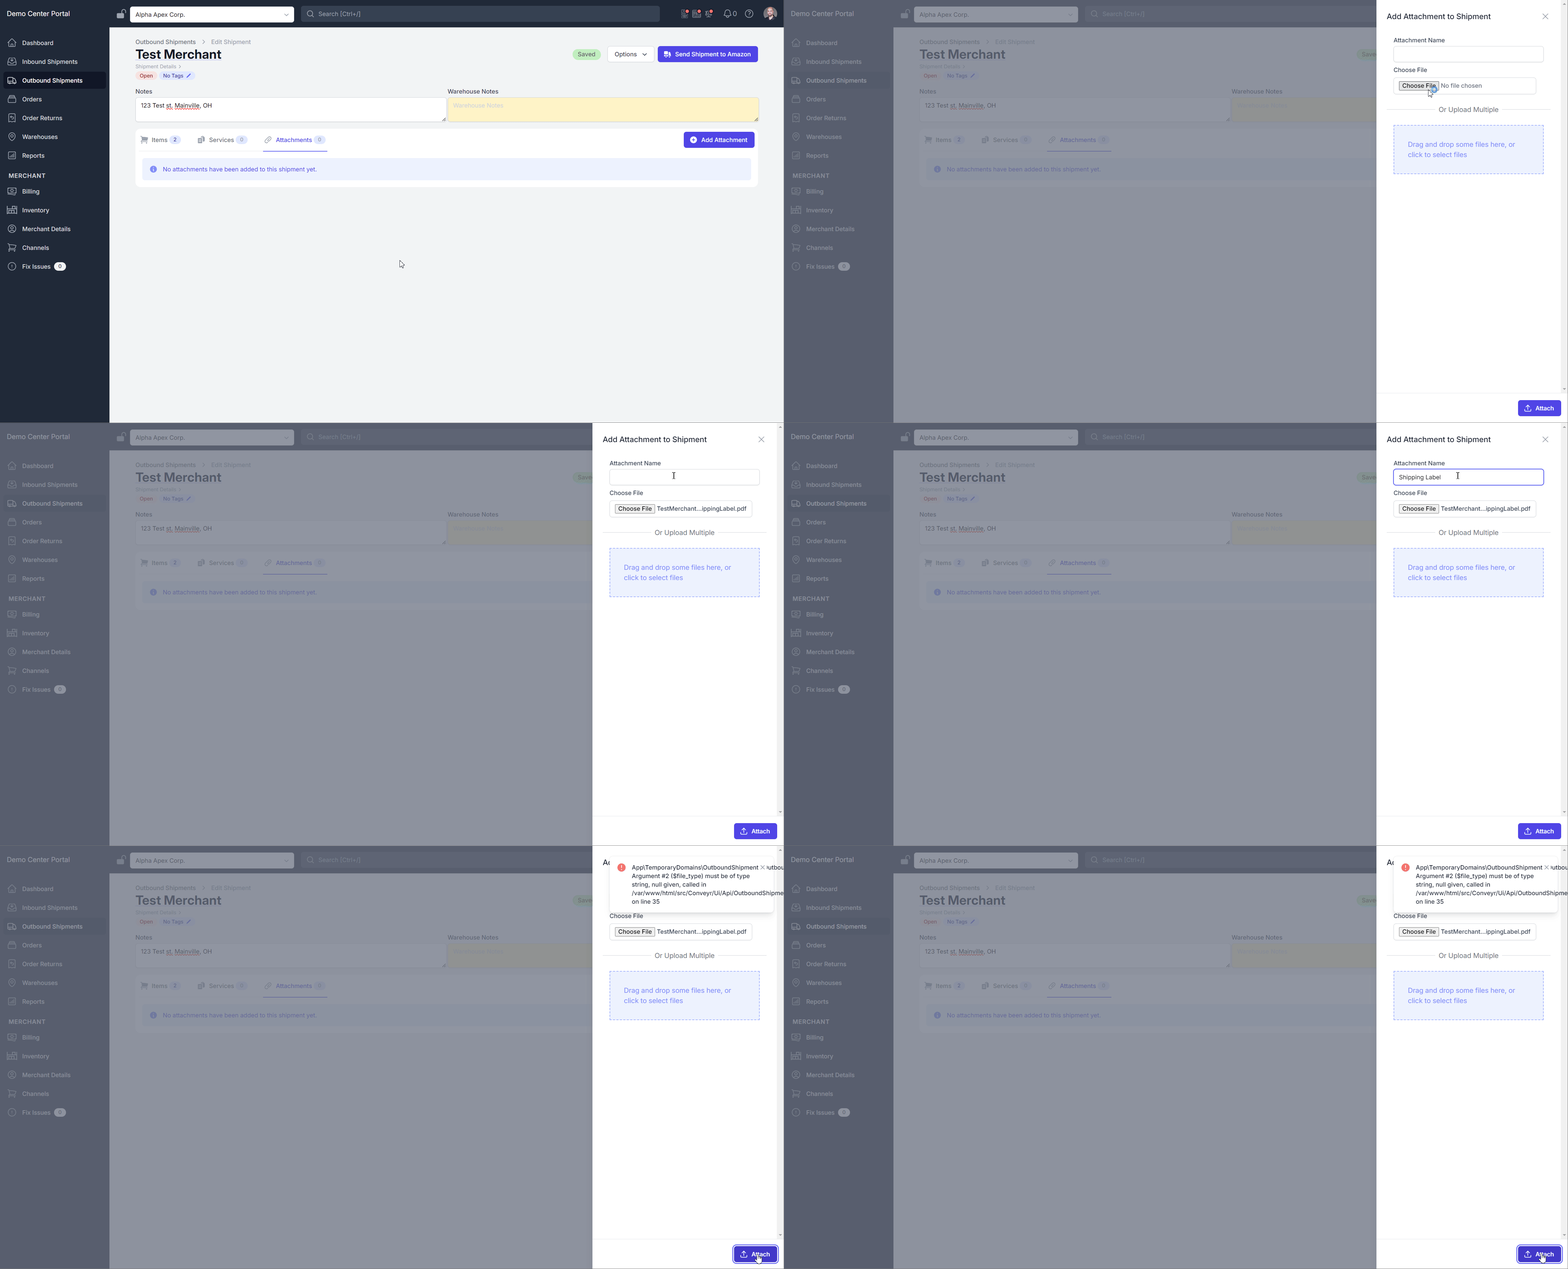
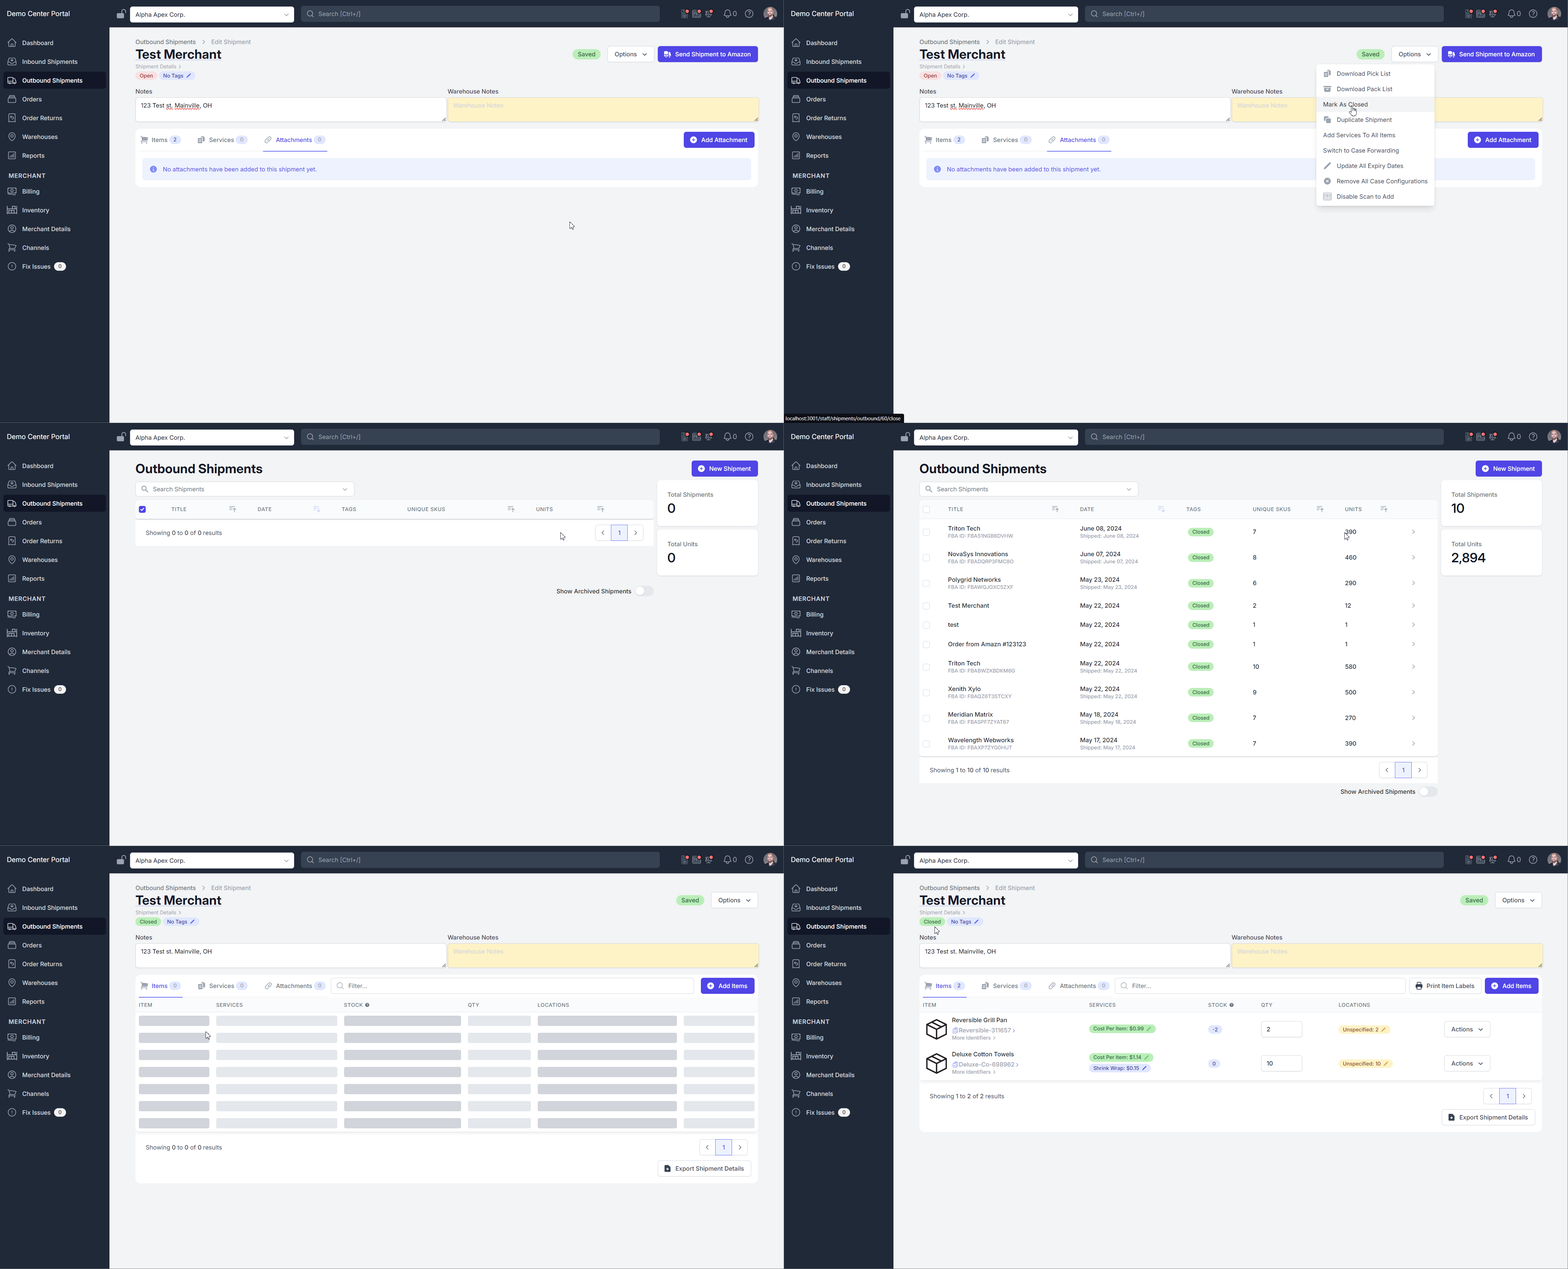
Once the address/shipping label are added, click the “Options” dropdown from the top right and select “Mark as Closed”. This will remove the items from your inventory and mark the shipment as sent.
