Edit Shipments
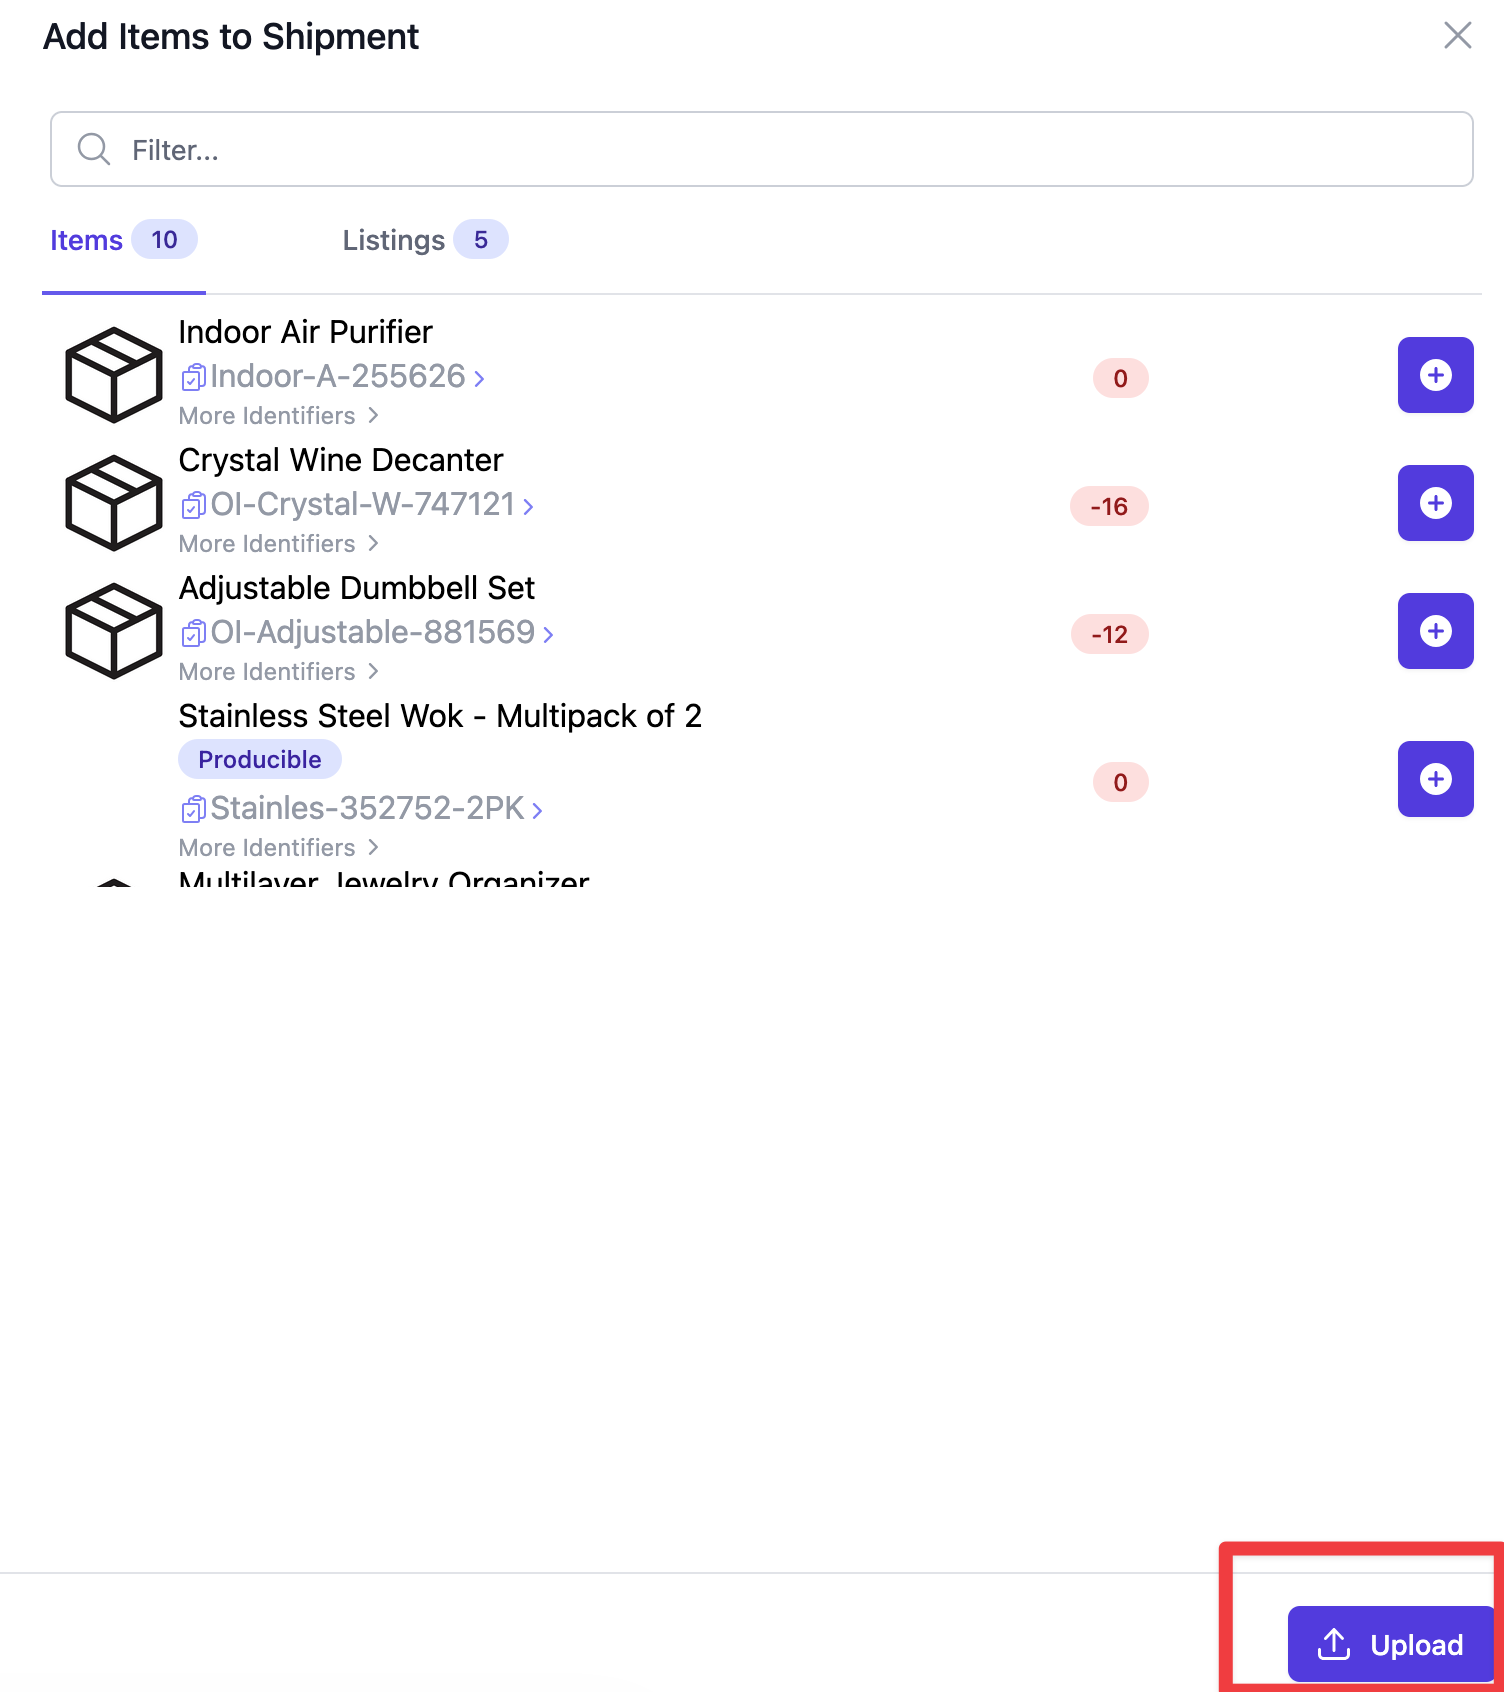
Add Items to a shipment
- Open the shipment you would like to add items to.
- Select the "Add Items" button on the right.
- Select the items you wish to add.
- Adjust the quantity of each item being added to your shipment.
- Select the "Add Items" button to save your changes.
Add Items via Spreadsheet Upload
If you have many items to add to a shipment, you can upload a spreadsheet instead of adding them one at a time. This works for both inbound and outbound shipments.
- Open the shipment you would like to add items to.
- Select the "Add Items" button on the right.
- In the Add Items dialog, click the "Upload" button in the bottom right corner.
- On the Upload Spreadsheet page, click "Browse" to choose your spreadsheet file.
- Click "Upload" to add the items to your shipment.
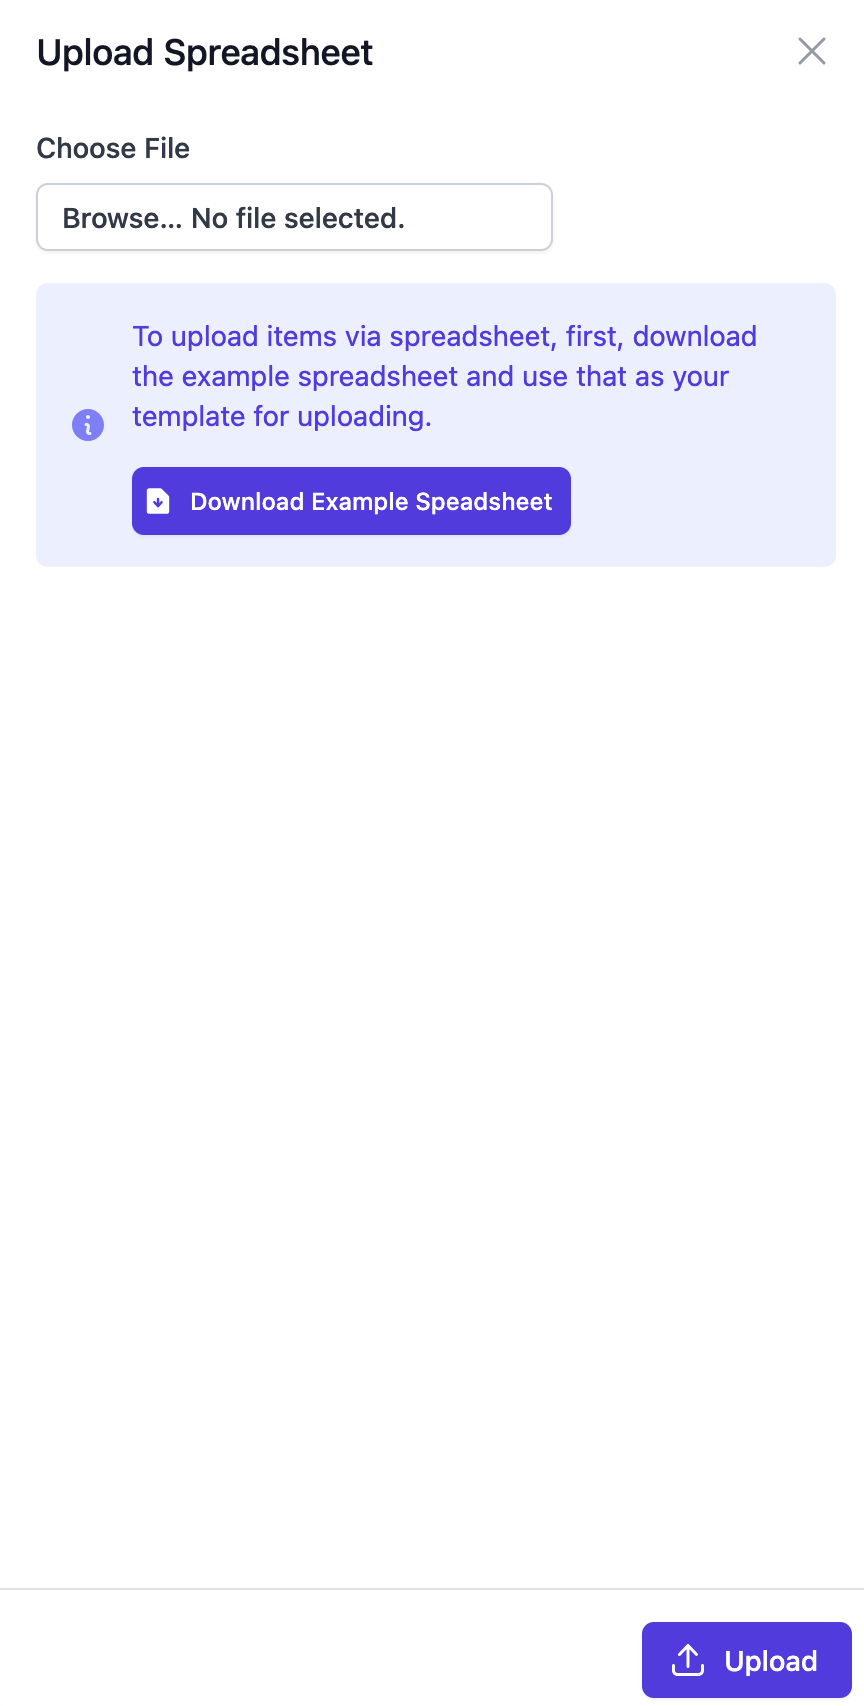
Your spreadsheet must have two columns with the following headers: merchant_sku and quantity. You can also download the example spreadsheet from the upload page to use as a template.
Adjust the number of items in a shipment
You may have added an item to a shipment but decided you want more or less of a that item in the shipment. Instead of adding the item over again you can use this simple process:
- Open the shipment you would like to adjust item numbers for.
- Use the arrows in the "Expected" column beside the item to increase or decrease the quantity of that item in your shipment.
Delete Items from a shipment
To delete a single item from a shipment follow these steps:
- Open the shipment you would like to delete items from.
- Find your desired item and select the red garbage can beside it to delete it.
Note: you will not receive a warning for deleting an item.
Add Shipment Notes
Taking notes on shipments is a good way to keep your clients in the loop or to allow your clients to give you specific instructions on any shipment. To enter notes for a shipment, follow this process.
- Open the shipment you would like to add notes for.
- Find the notes field at the top of the page and enter the text you would like your client to see.
- If you would like to lock the notes so that your client cannot edit them, enter the notes in the "Warehouse Notes" section in yellow instead.
- Your notes will be saved automatically and will be visible to your client immediately.