Handle Invoices
Automate Invoices
If you don’t want to manually create invoices for a client, you can set up a monthly billing cycle to automate a monthly invoice. To set up a monthly billing cycle follow these steps:
- Open the Client Details page for that client.
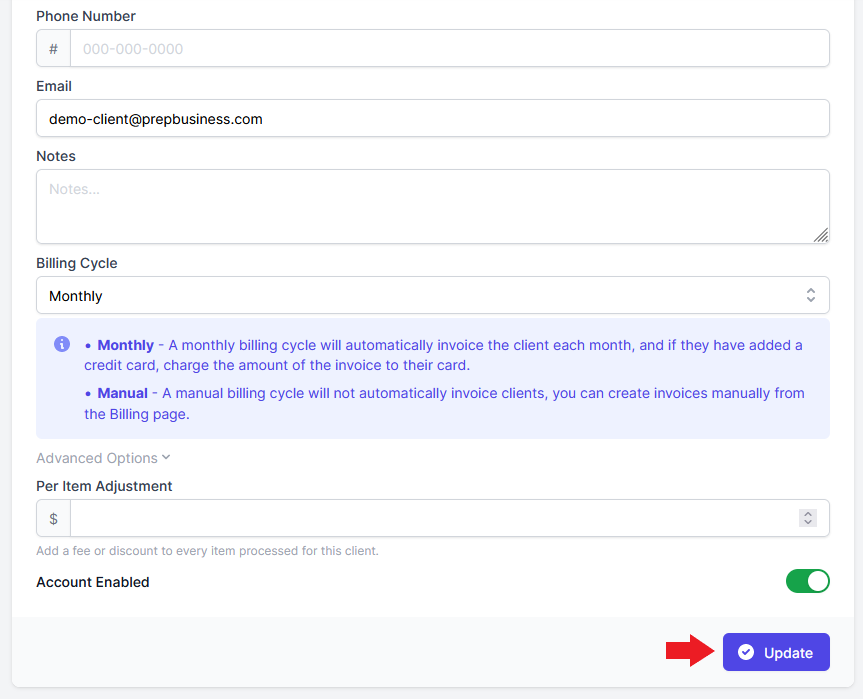
- Click the drop down menu under “Billing Cycle” and select “Monthly”.
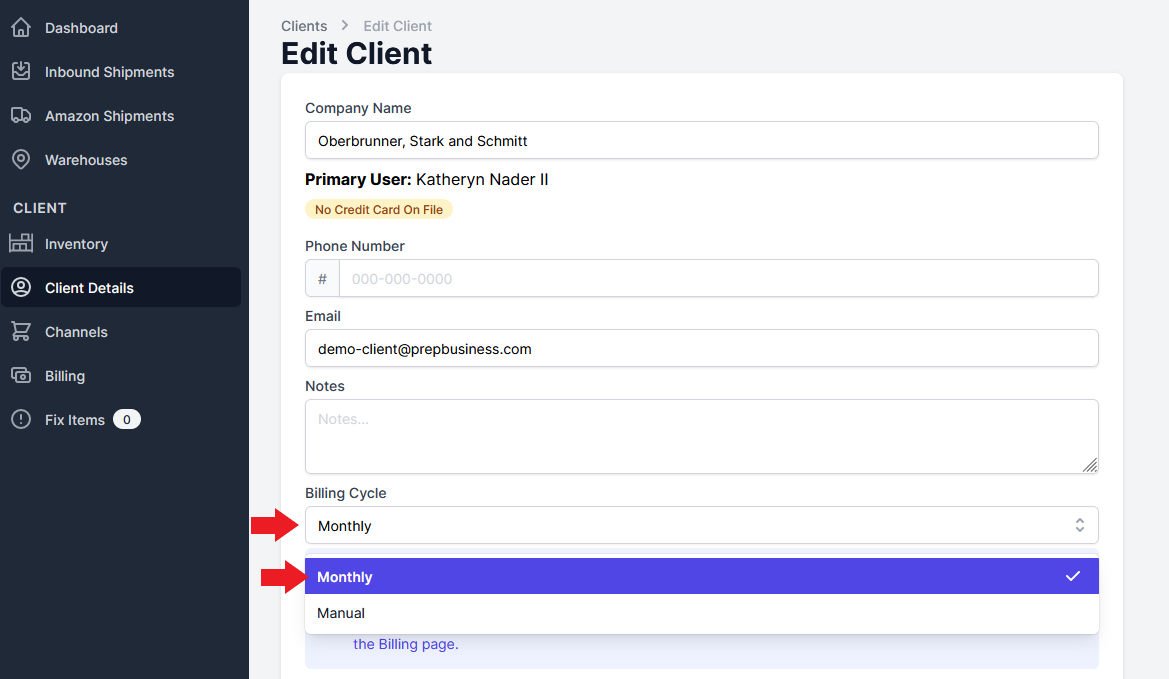
- Select “Update” to save the change.
Draft An Invoice
When you create invoices manually you create a draft invoice before sending it to the client. Your client cannot see draft invoices and they will not be charged until you finalize the invoice.
To create a draft invoice for all of your client’s charges, follow these steps:
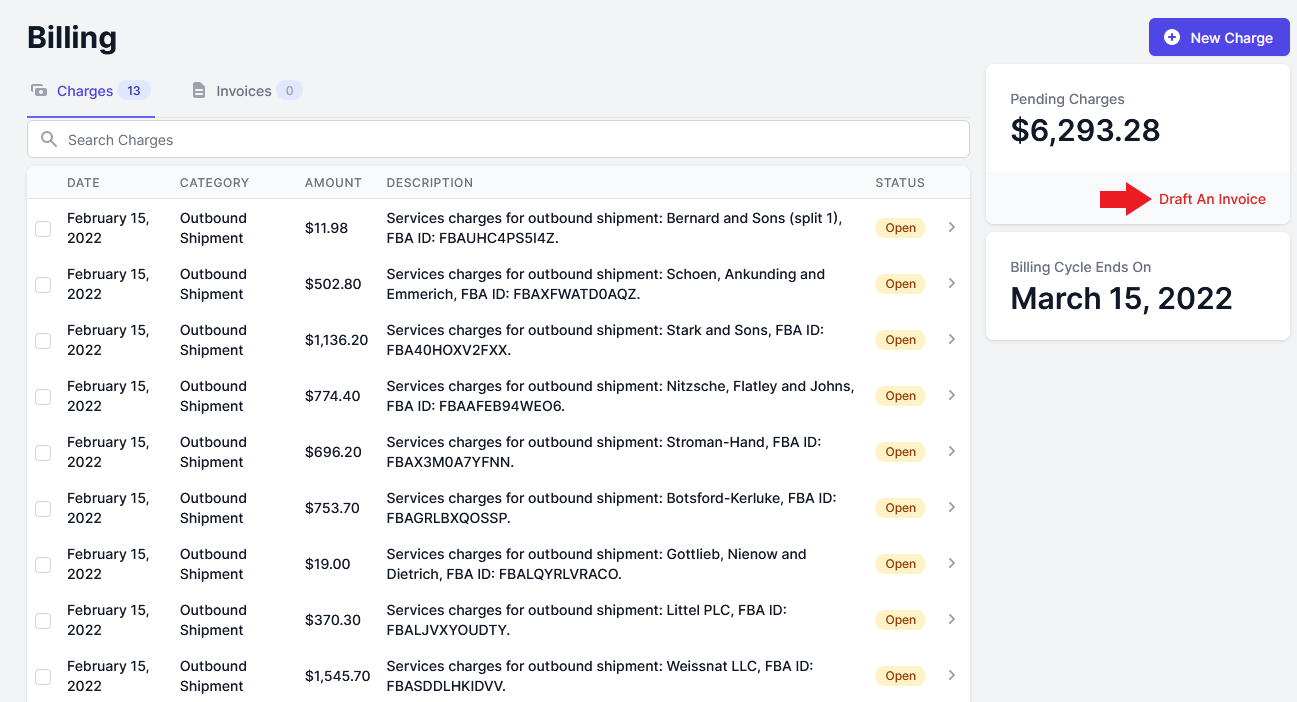
- Open the Billing page and select “Draft An Invoice”.
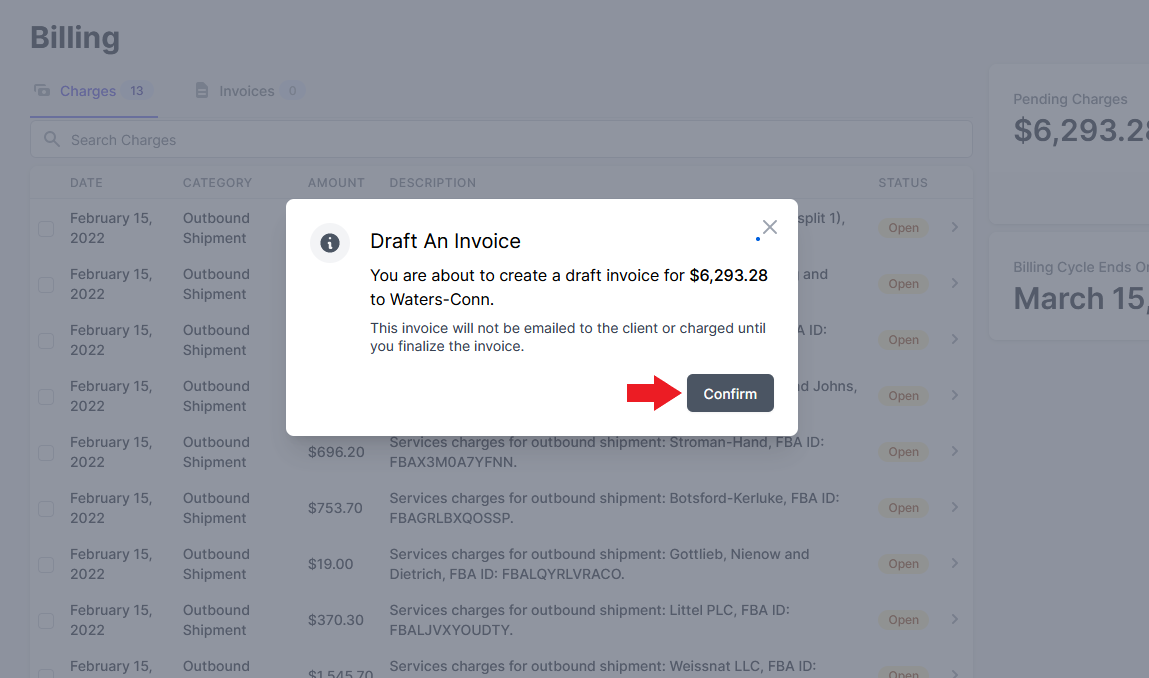
- A pop-up window will appear. Select “Confirm” to create the invoice.
To create a draft invoice for only some of your client’s charges, follow these steps:
- Open the Billing page and select select the charges you want to invoice.
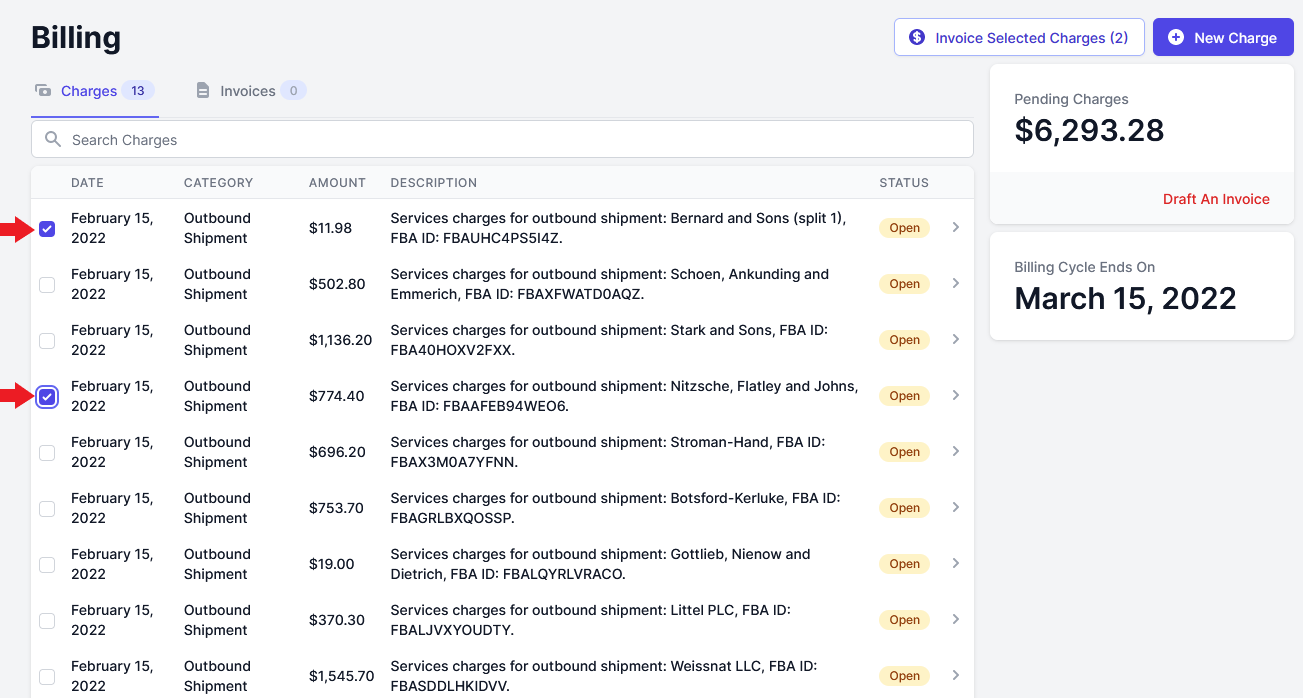
- Select the “Invoice Selected Charges” button in the top right corner.
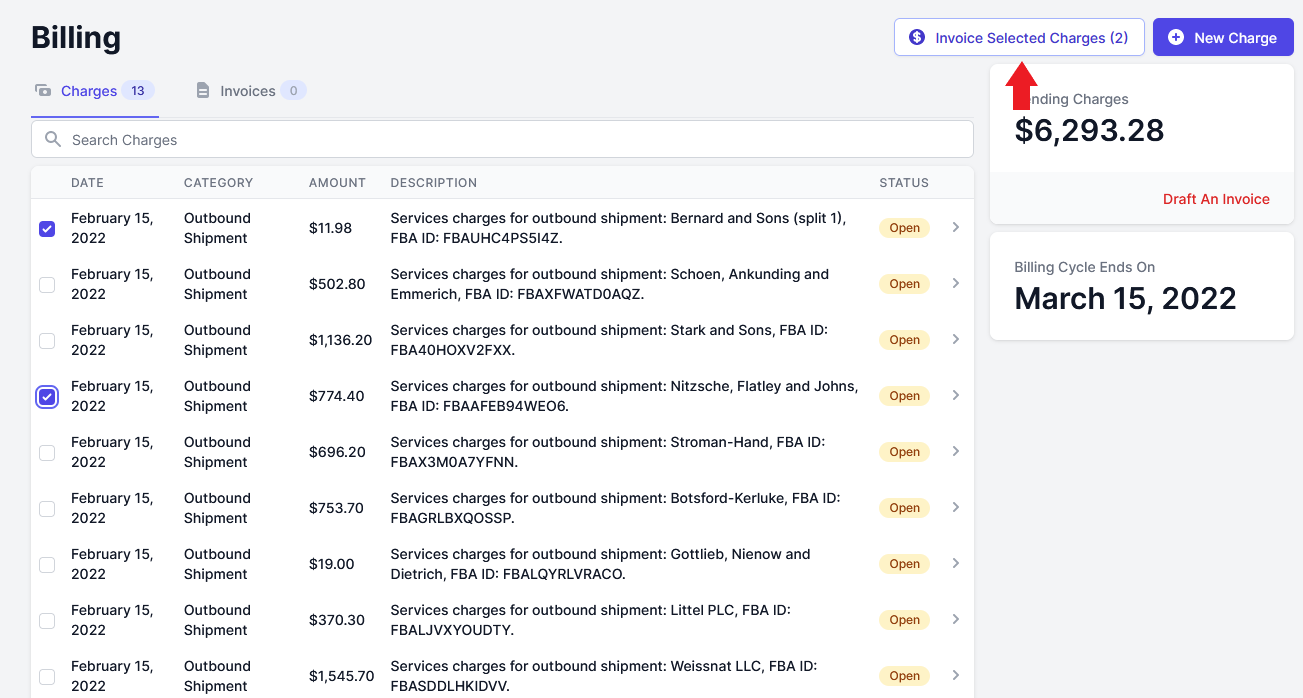
- A pop-up window will appear. Select “Confirm” to draft the invoice.

Delete Invoice Draft
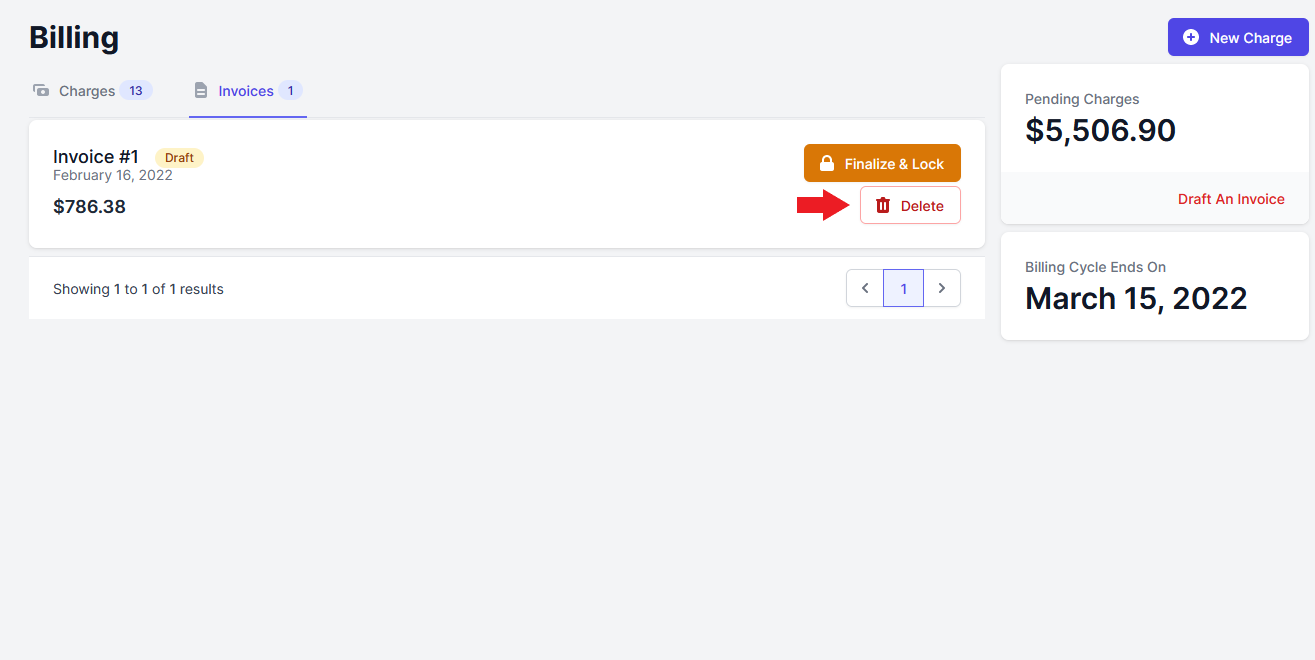
Deleting a drafted invoice has no permanent effects. It will return the charge to an open state. To delete an invoice draft follow these steps:
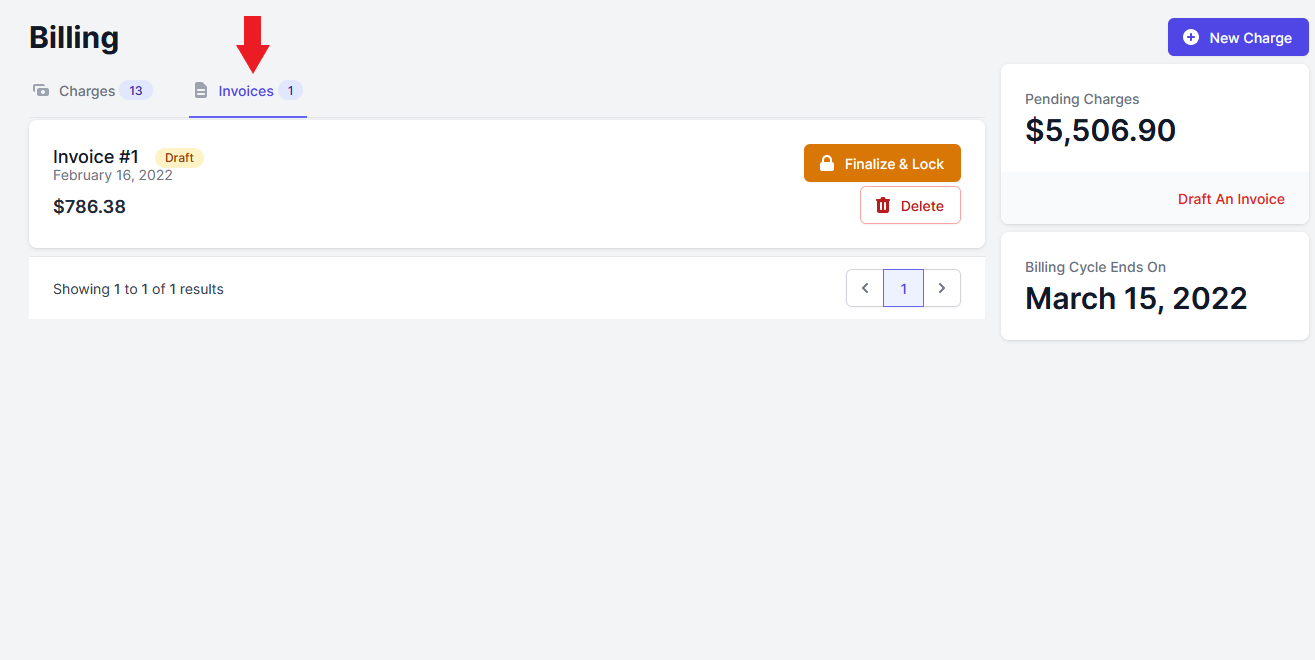
- Open the Billing page and Select the “Invoices” sub page.
- Click on the “Delete” button beside the invoice draft you wish to delete.
- A pop-up window will appear. Select “Confirm” to delete the draft.
Finalize Invoice Draft
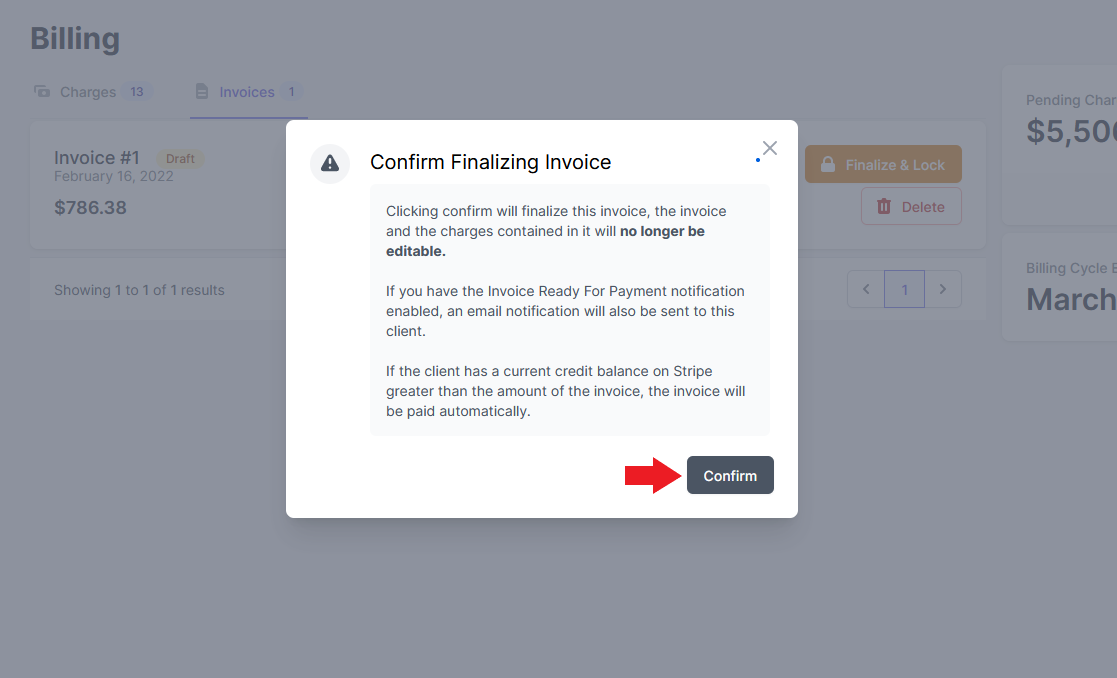
Once you finalize an invoice draft you will not be able to edit the charges anymore and your clients will be able to access the invoice from their side of the portal. You can also choose to enable the Invoice Ready For Payment notification so that your client will be notified when you finalize an invoice. (Click here to read how to enable notifications.) To finalize an invoice draft follow these steps:
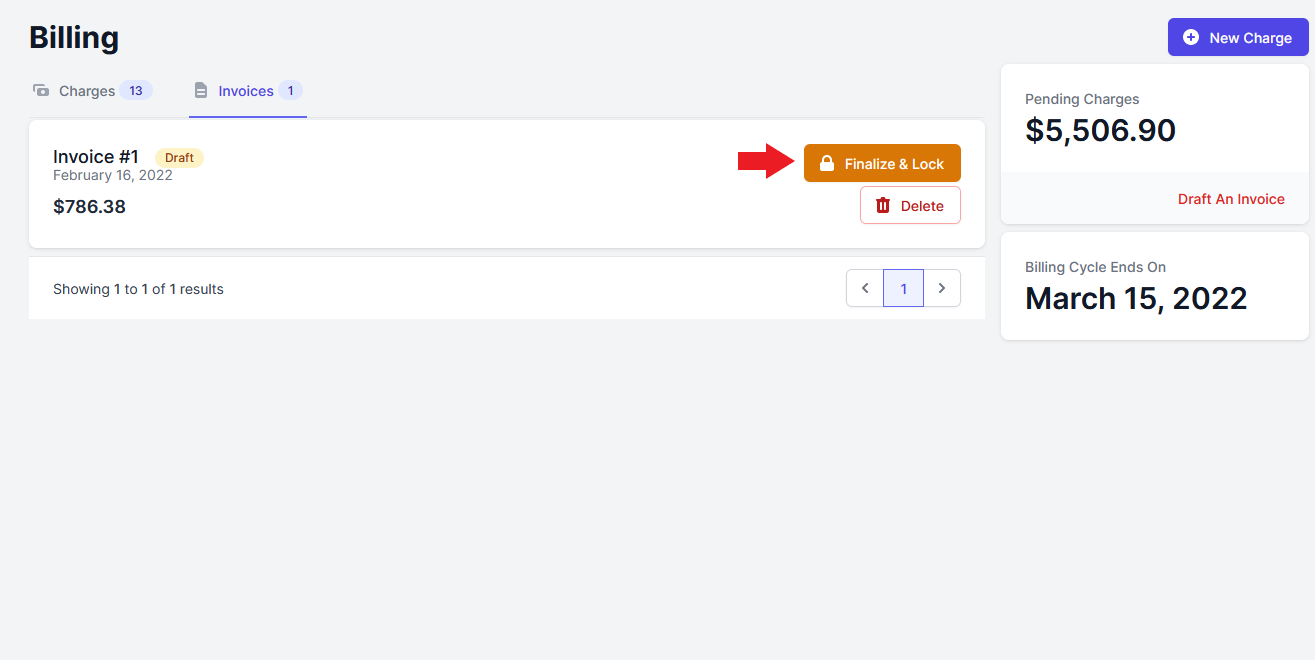
- Open the Billing page and Select the “Invoices” sub page.
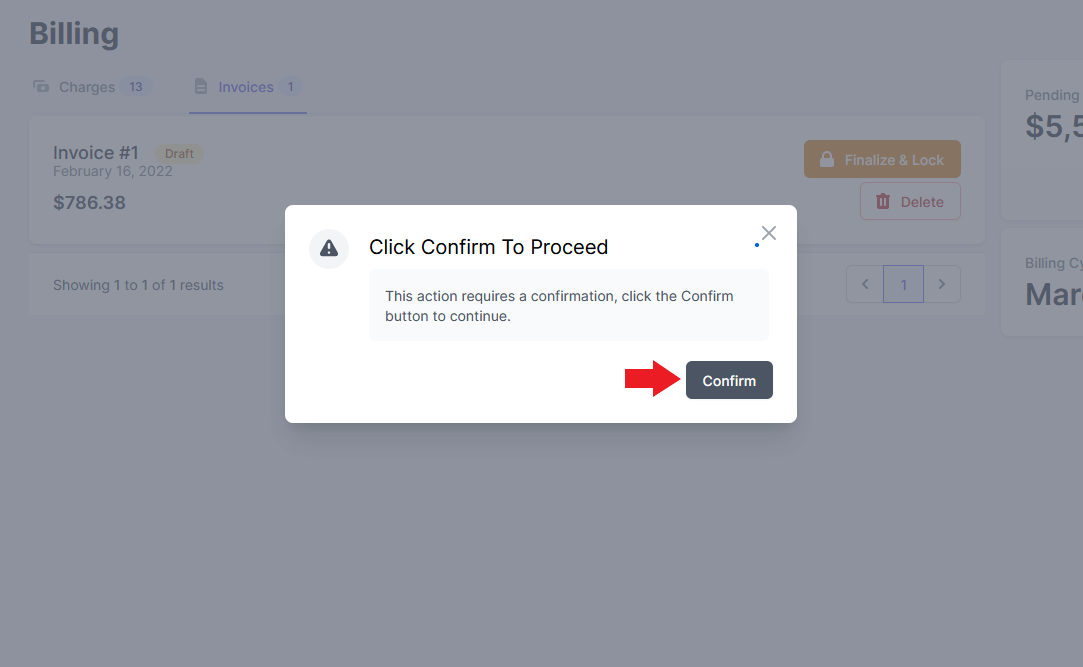
- Click on the “Finalize & Lock” button beside the invoice draft you wish to finalize.
- A pop-up window will appear. Select “Confirm” to complete the invoice.
Make an Invoice Void
You can only make an invoice void after the invoice has been finalized. Making an invoice void marks it as no longer requiring payment. To make an invoice void follow these steps:
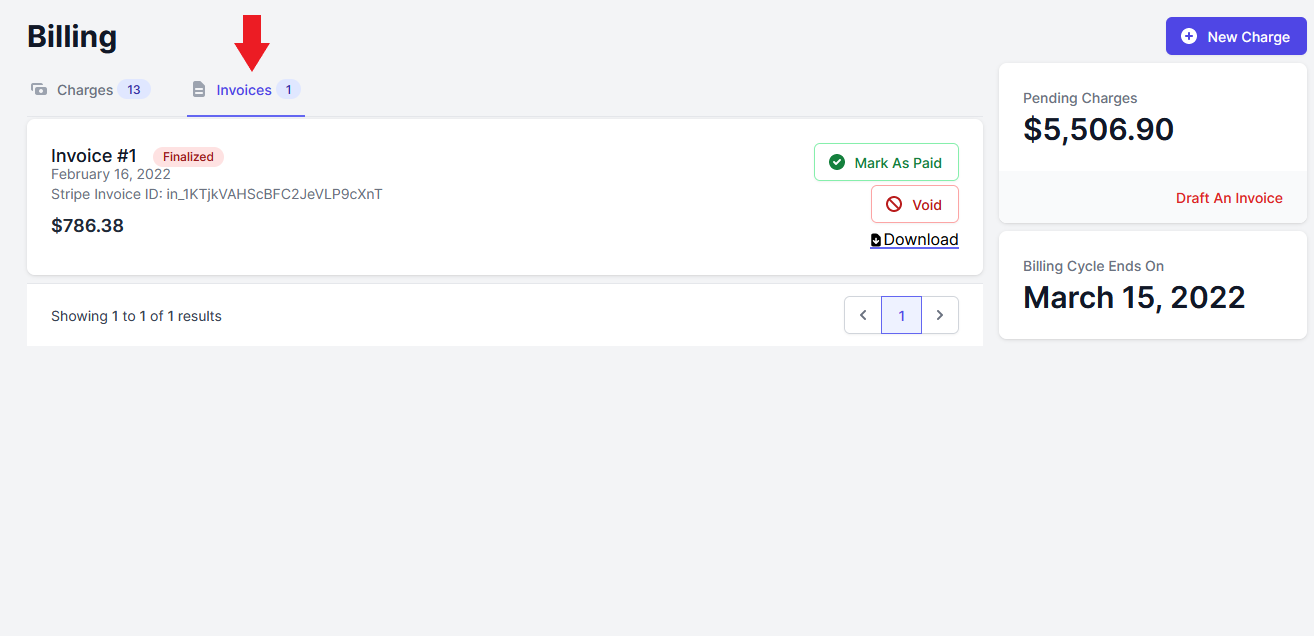
- Open the Billing page and Select the “Invoices” sub page.
- Click on the “Void” button beside the invoice you wish to make void.
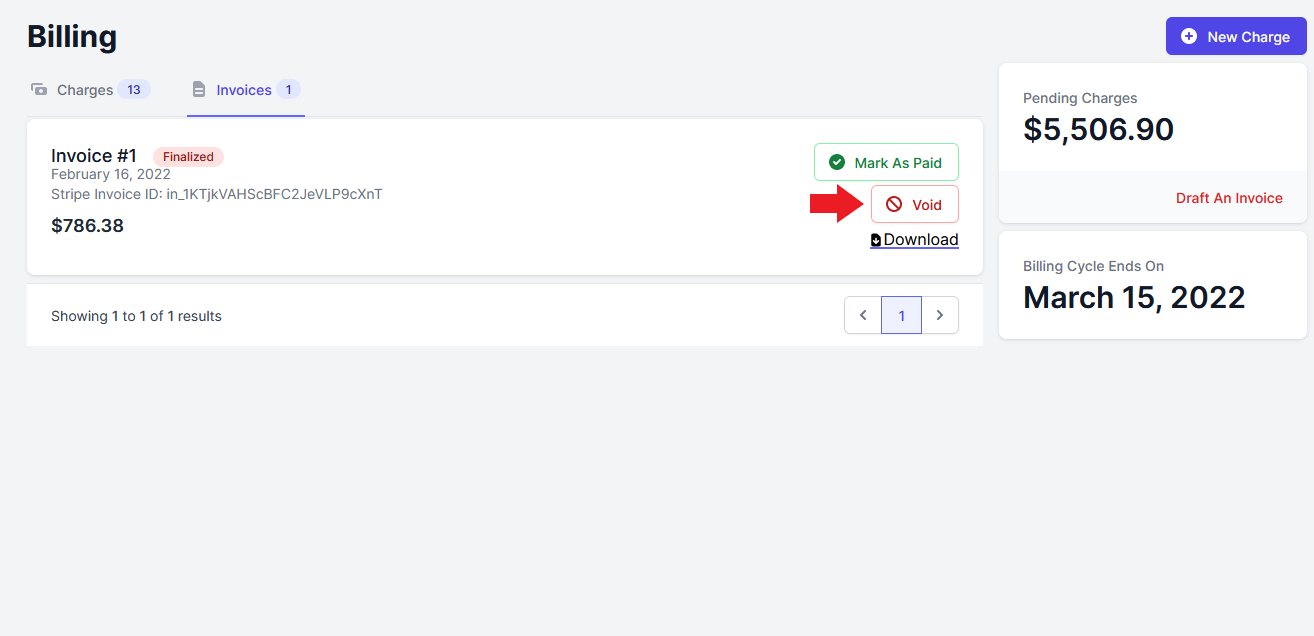
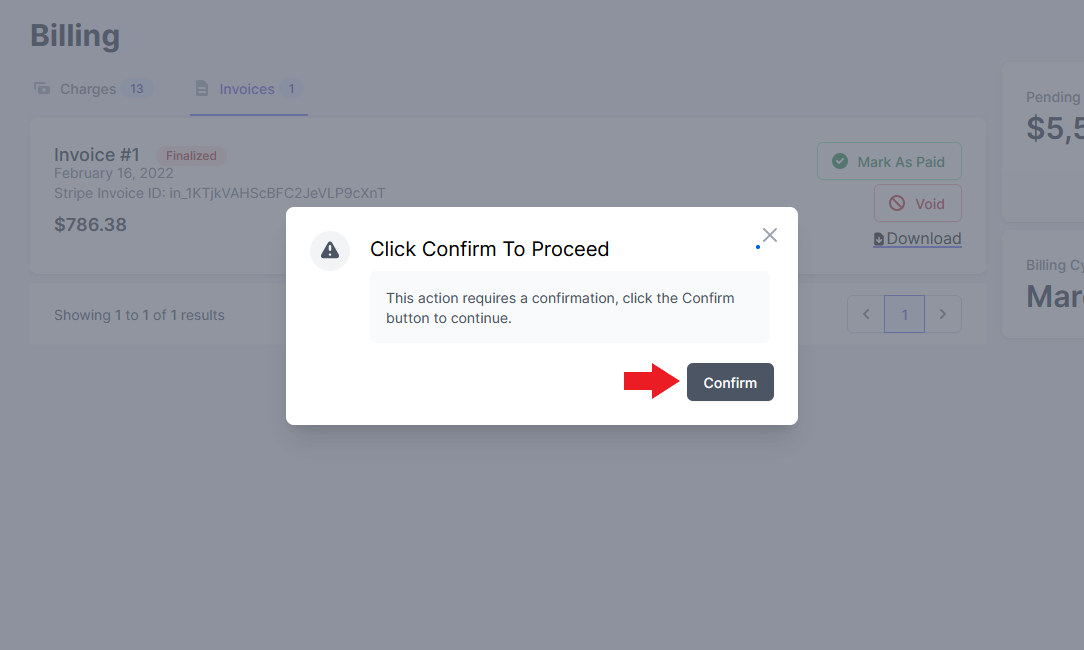
- A pop-up window will appear. Select “Confirm” to void the invoice.
Invoice Payment
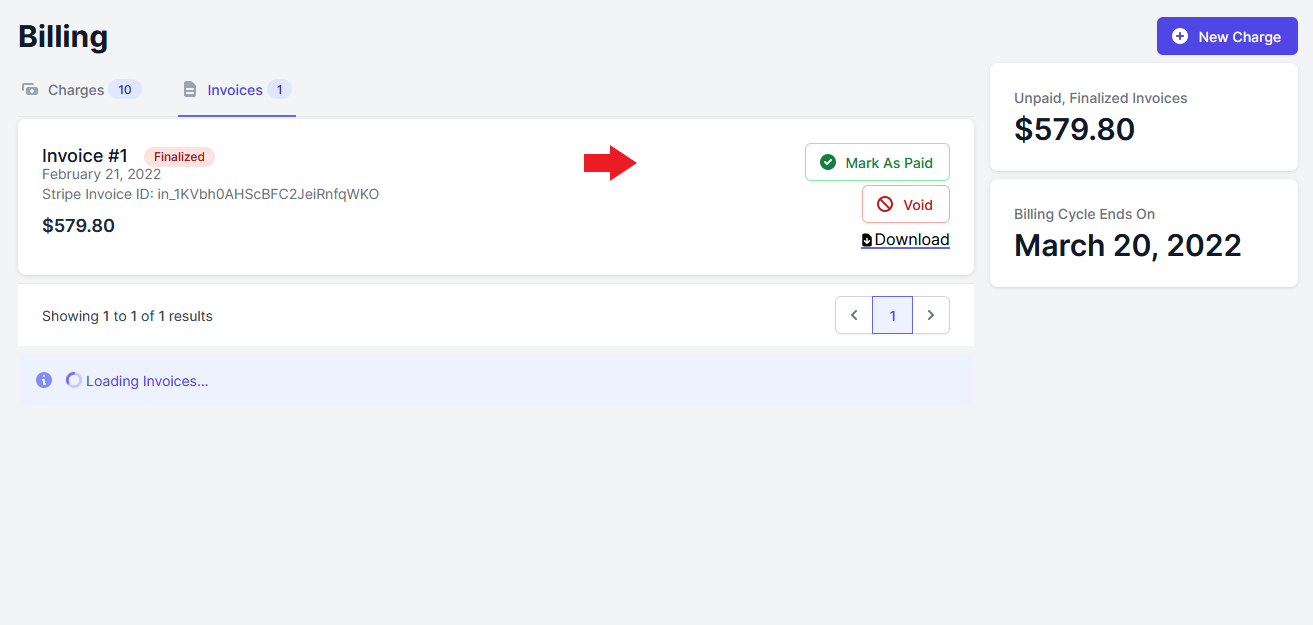
There are a few ways Invoices can be paid. First open the Billing page and select the “Invoices” sub page.
If your client has a billing method added to their account there will be an “Attempt Credit Card for Payment” button beside the “Mark As Paid” button on the invoice.
Pressing this button will charge your client’s credit card if they have one available.
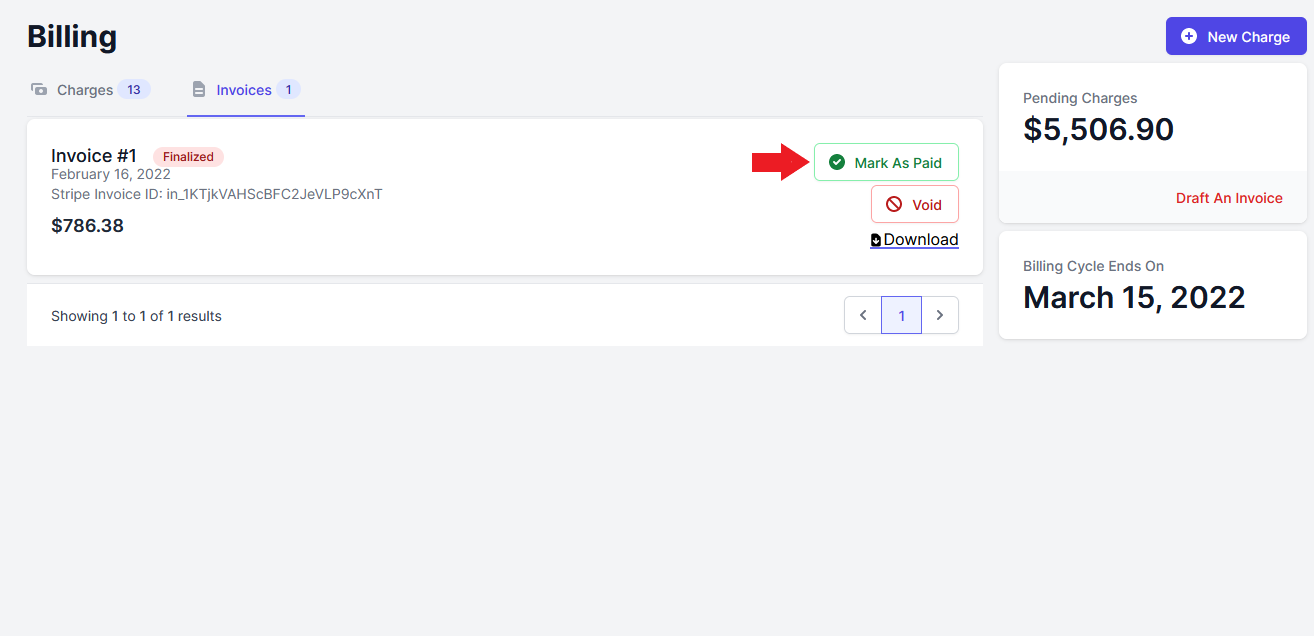
Otherwise, your client can pay outside of the portal. To record an outside payment you can simply press the “Mark As Paid” button on the invoice.
Your client can also prepay their Invoices using a credit balance. To learn how credit balances work and how to set one up visit the following page:
Pay Invoices Via Credit Balance
You can also have invoice calculate tax automatically, to learn more visit: