Customize Billed Services
The Services page is where you specify the various service offerings you provide to your clients. Services can be item services such as bubble wrap or poly bags, shipment services such as extra boxes or receiving charges, or client charges such as billable hours or consulting fees.
Once you have created an item or shipment service, those services can be added to items or shipments so that billing can be properly tracked. On item services, that service will be shown when receiving and shipping the item so that your prep team knows exactly what needs to be done for each item.
You have the ability to customize these services by adding, editing and deleting them. Below are step-by-step instructions on how to perform each of these actions.
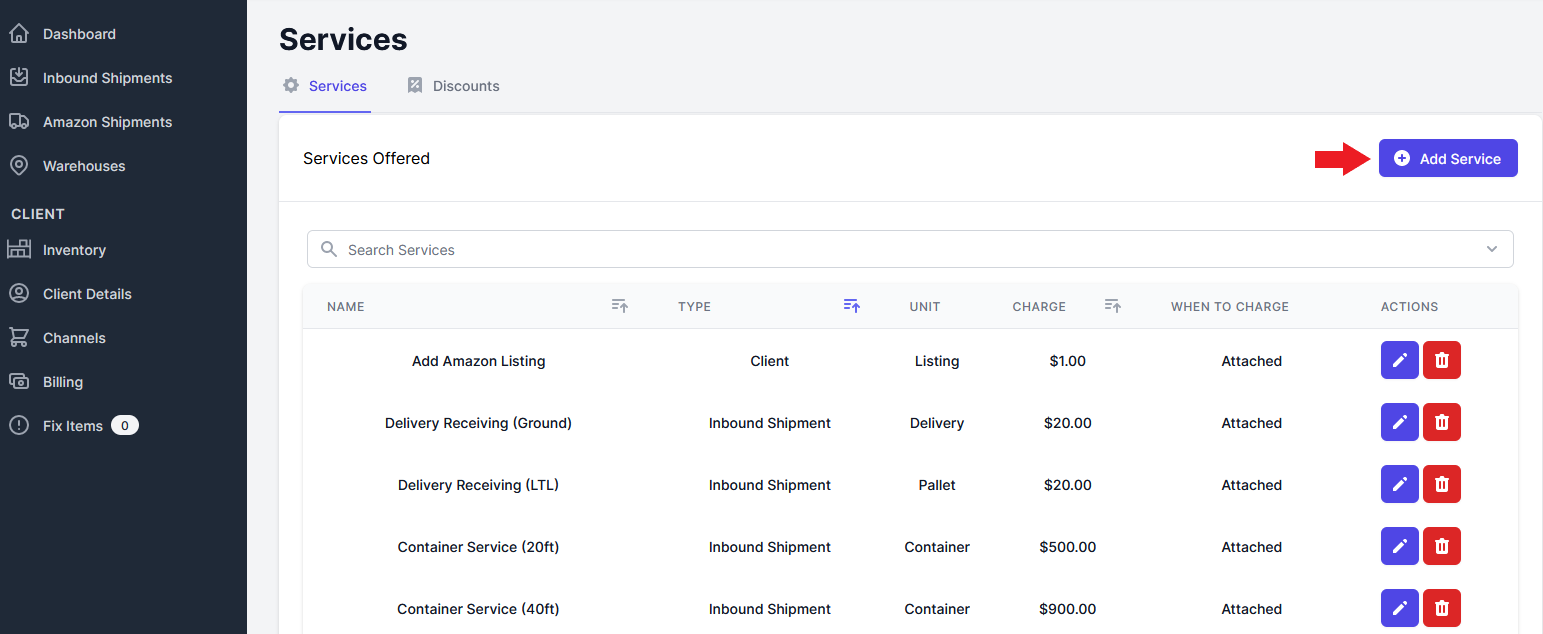
Add a Service
- Navigate to the Services page and select “Add Service”.
- Enter the information for a new service.
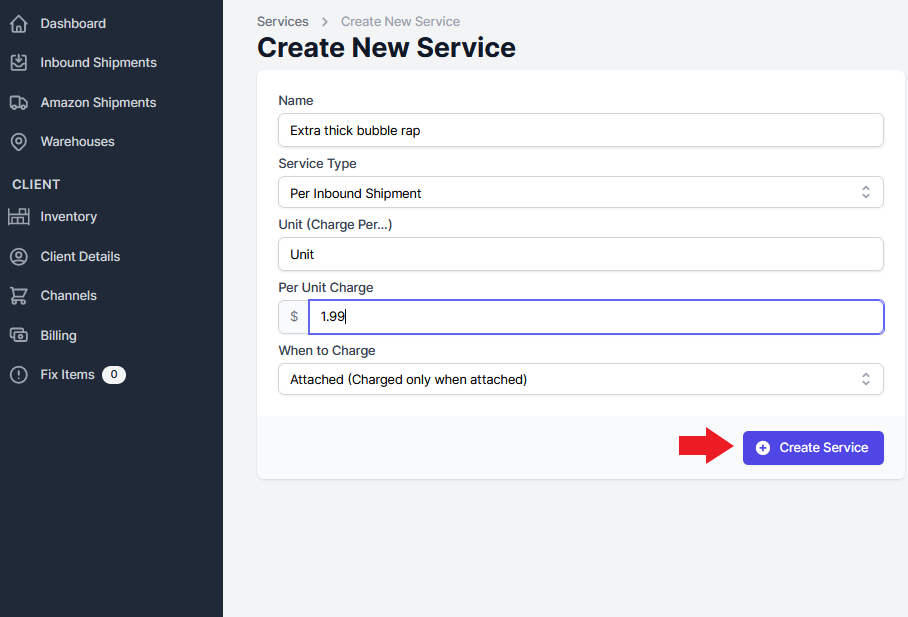
There are four sections that you will need to fill out
1. The Name of the Service: this is whatever you would like to be shown to both the client and your prep team that is performing the service.
2. The Service Type: services can be applied to either items, inbound shipments, outbound shipments, or clients (added services).
3. The Name of the Unit: for example, if you add a poly bagging service, you are charging per bag, and so the name of the unit will be "Bag". A bubble wrapping service might be charged per "Sheet".
4. The Amount you would like to charge for each Unit.
4. Finally select “Create Service” to save your changes.
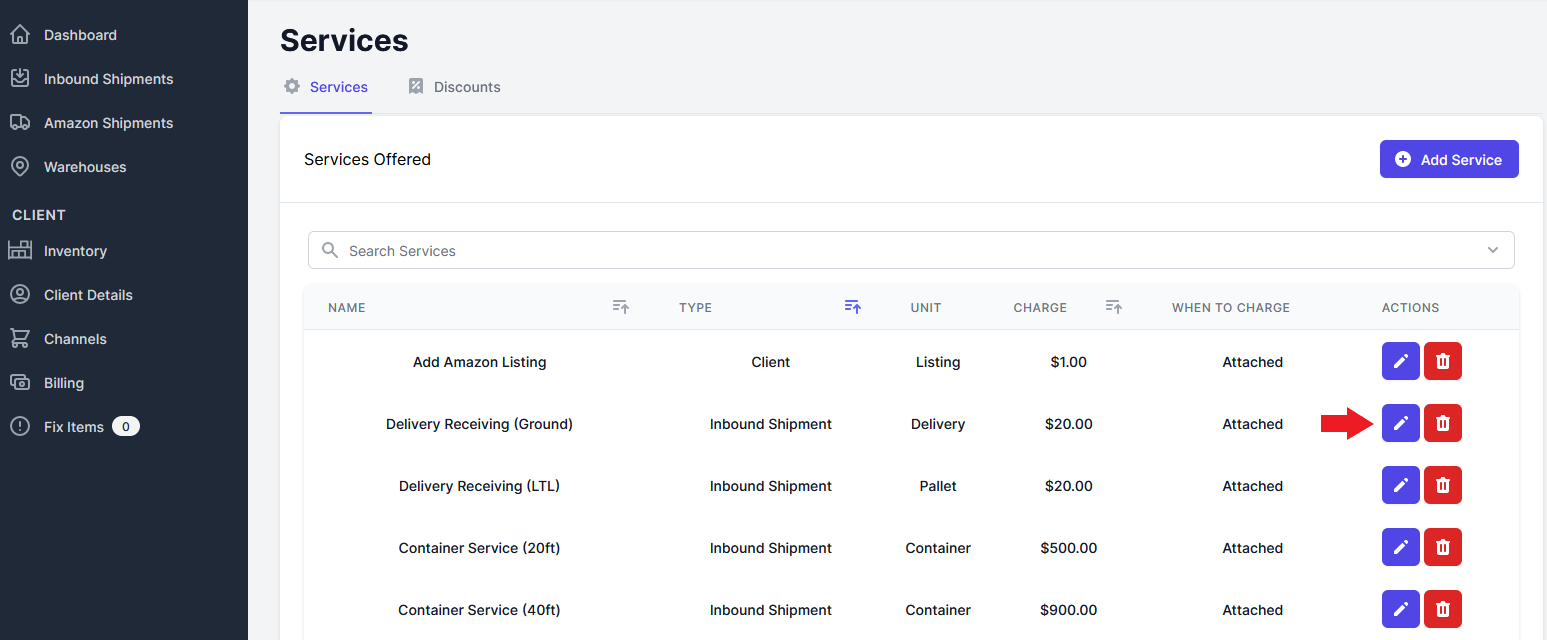
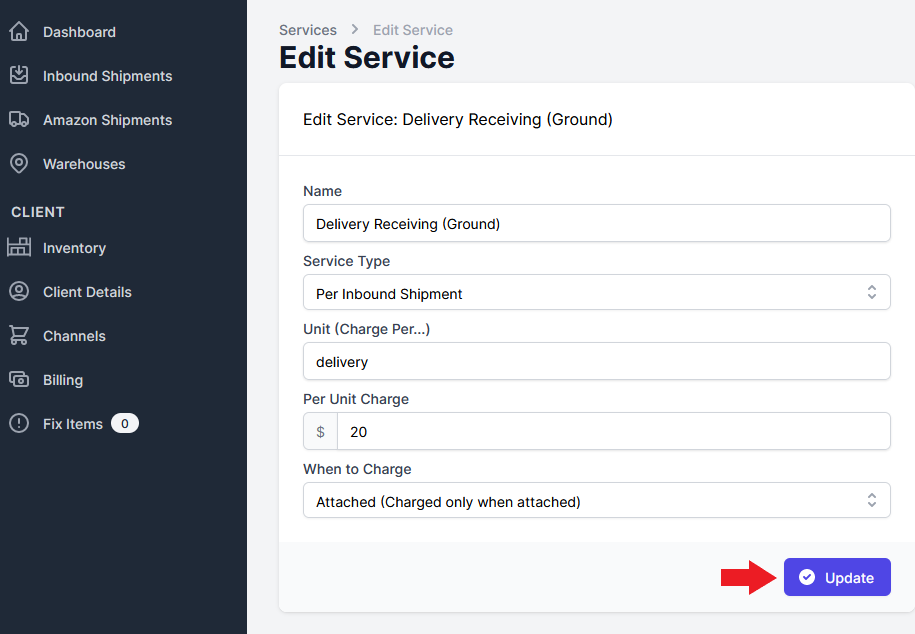
Edit a Service
- Select the blue pen next to the service you with to edit
- Make the edits to the service name, service type, unit name and charge you want on the service.
- Select “Update” to save your changes.
Does Changing a Price Affect Past Shipments?
No. Changing a service's charge applies to shipments going forward only; it does not change what past shipments were billed. PrepBusiness keeps a price history for each service and bills every shipment at the price that was in effect on the date it was shipped or received, so charges on shipments that already went out stay the same.
If you open a past shipment and see the new price on its Services tab, that figure is a live estimate based on the service's current price, not the amount billed. To confirm the actual charge, open that shipment's charge on the Billing page; it will still show the original price.
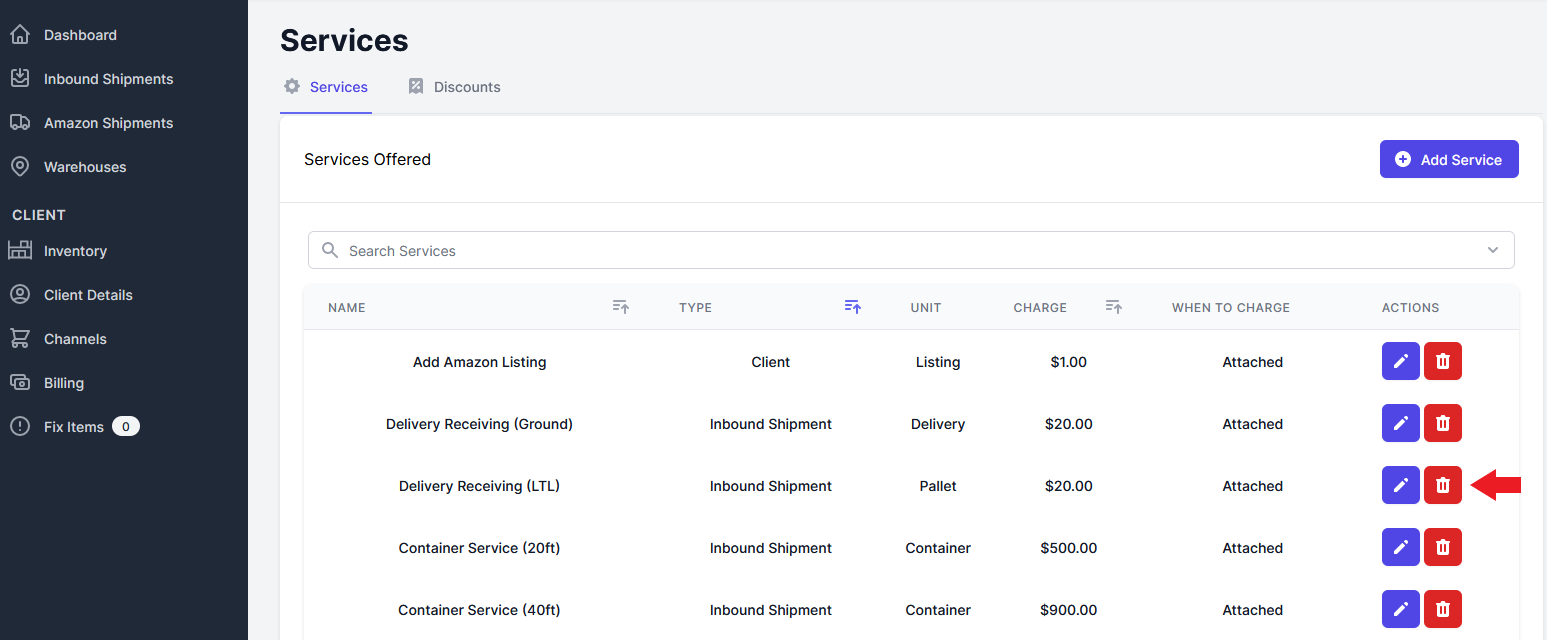
Delete a Service
- Select the red garbage can next to the service you wish to delete.