Domain Settings
When you first receive access to your PrepBusiness account, it will come set up with a unique subdomain, such as YOURCOMPANY.prepbusiness.com. It is generally easier for your clients to remember a URL on your own domain, such as dashboard.YOURCOMPANY.com. To get a custom domain set up, follow the instructions below.
First, log in to your domain registrar. This will be the website where you registered or purchased your domain name. If you're not sure who your domain registrar is, you can look it up here: https://lookup.icann.org/lookup
Second, you need to edit the DNS settings of your domain. Each domain registrar has a different way of doing this, so if you're not sure, you can ask their support team or google the name of your registrar and "dns settings".
Third, you need to add a new record to your DNS settings, called a CNAME record. There are typically three sections that need to be set.
- The name of the record,otherwise known as the subdomain. Set the name to be the URL you want your clients to login to the software. If you wanted them to login at dashboard.YOURCOMPANY.com, then you would enter "dashboard" in this section.
- The target of the record. This should be set to "custom.prepbusiness.com".
- TTL. This is typically set to auto, or 1 hour.

Finally, navigate to the Account Settings page of the PrepBusiness software. In the Domain Settings section, enter the custom domain that you set up in your DNS settings (for example: dashboard.YOURCOMPANY.com).
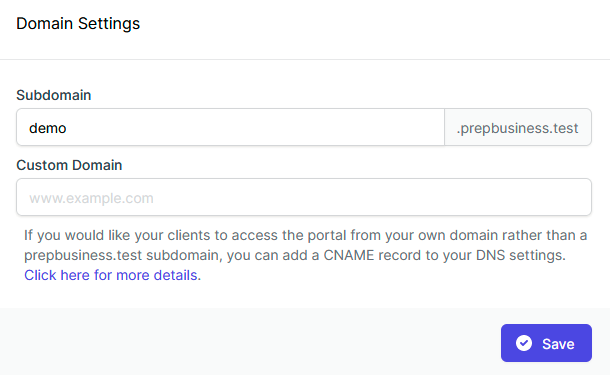
Save the domain settings, and then refresh the page. The software will check if your domain has been set up properly, and display an error message if there is an issue.
It can take up to 24 hours for the updates to your domain to propagate, but often much faster than that. You will receive a green success message once everything has been configured correctly and the site is ready to be accessed from your new custom domain.