Update Inventory
Add items to Inventory
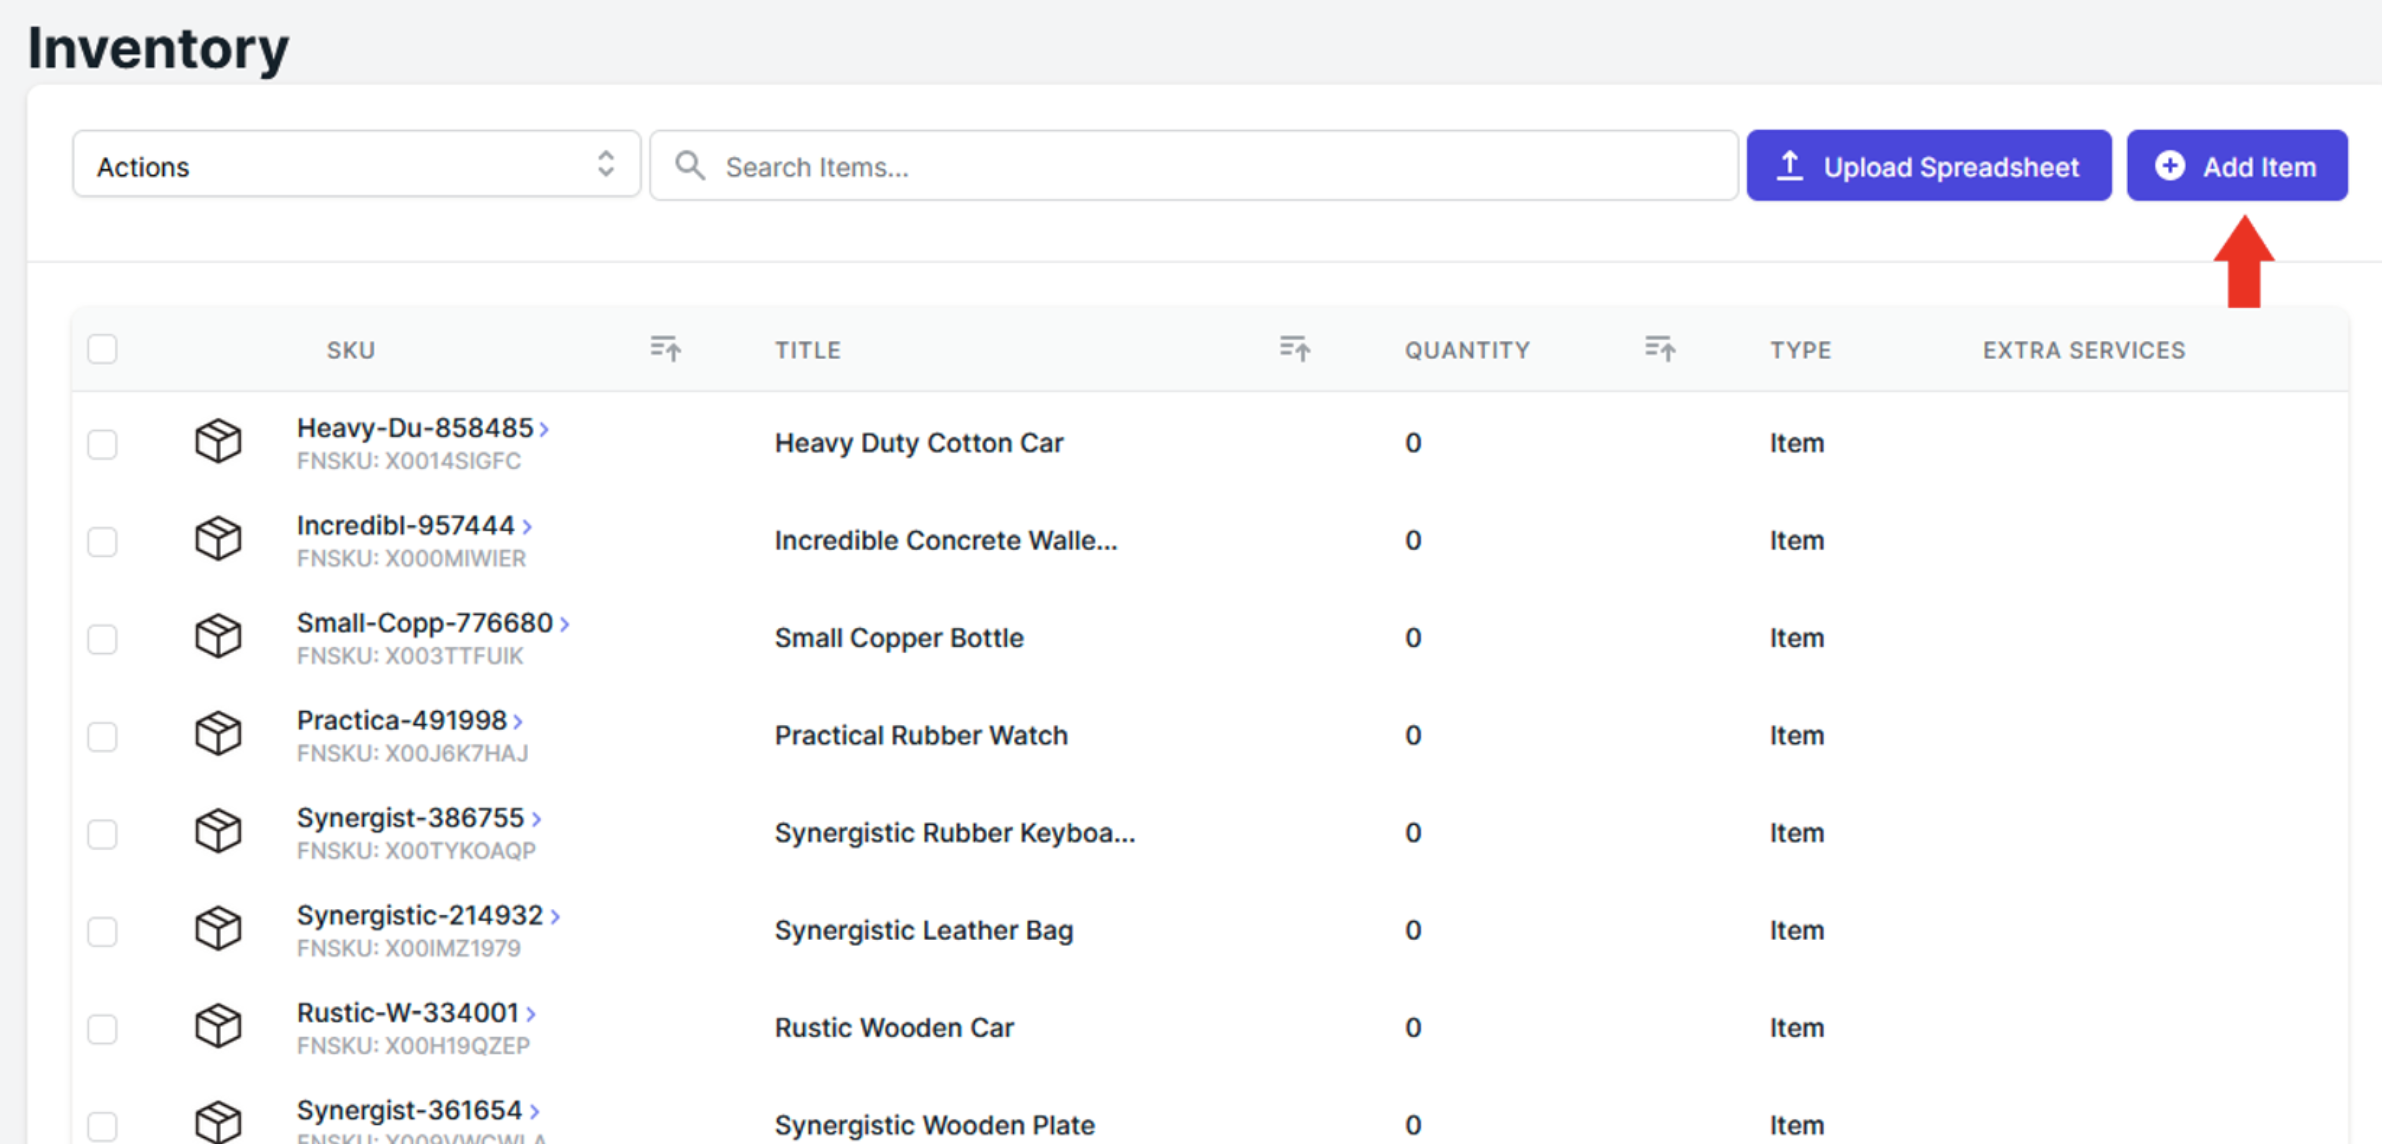
There are a few ways to add items to your inventory. The first method is to add a single item. To do this follow these steps:
- Open the Inventory page and select “Add Item”.
- Name your new inventory item and choose whether or not to link it to Amazon or a different channel.
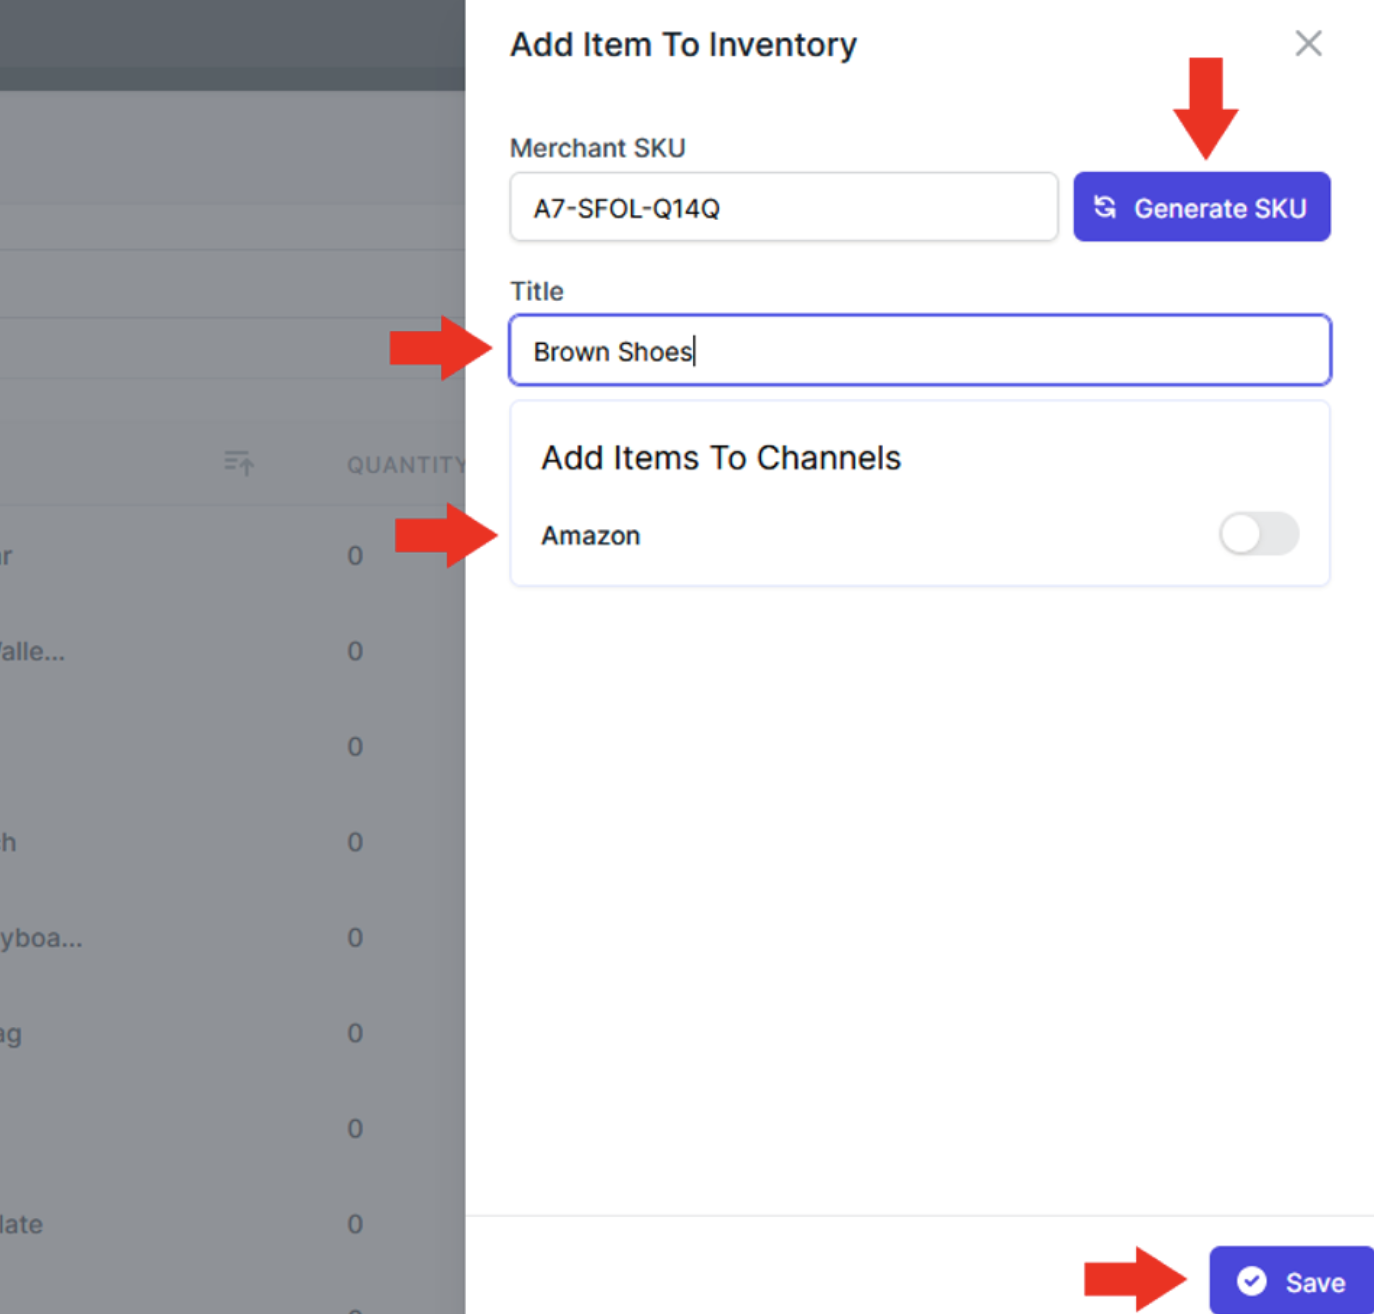
- Finally, select “Generate SKU” and select “Save” to add the item.
Add multiple items to Inventory
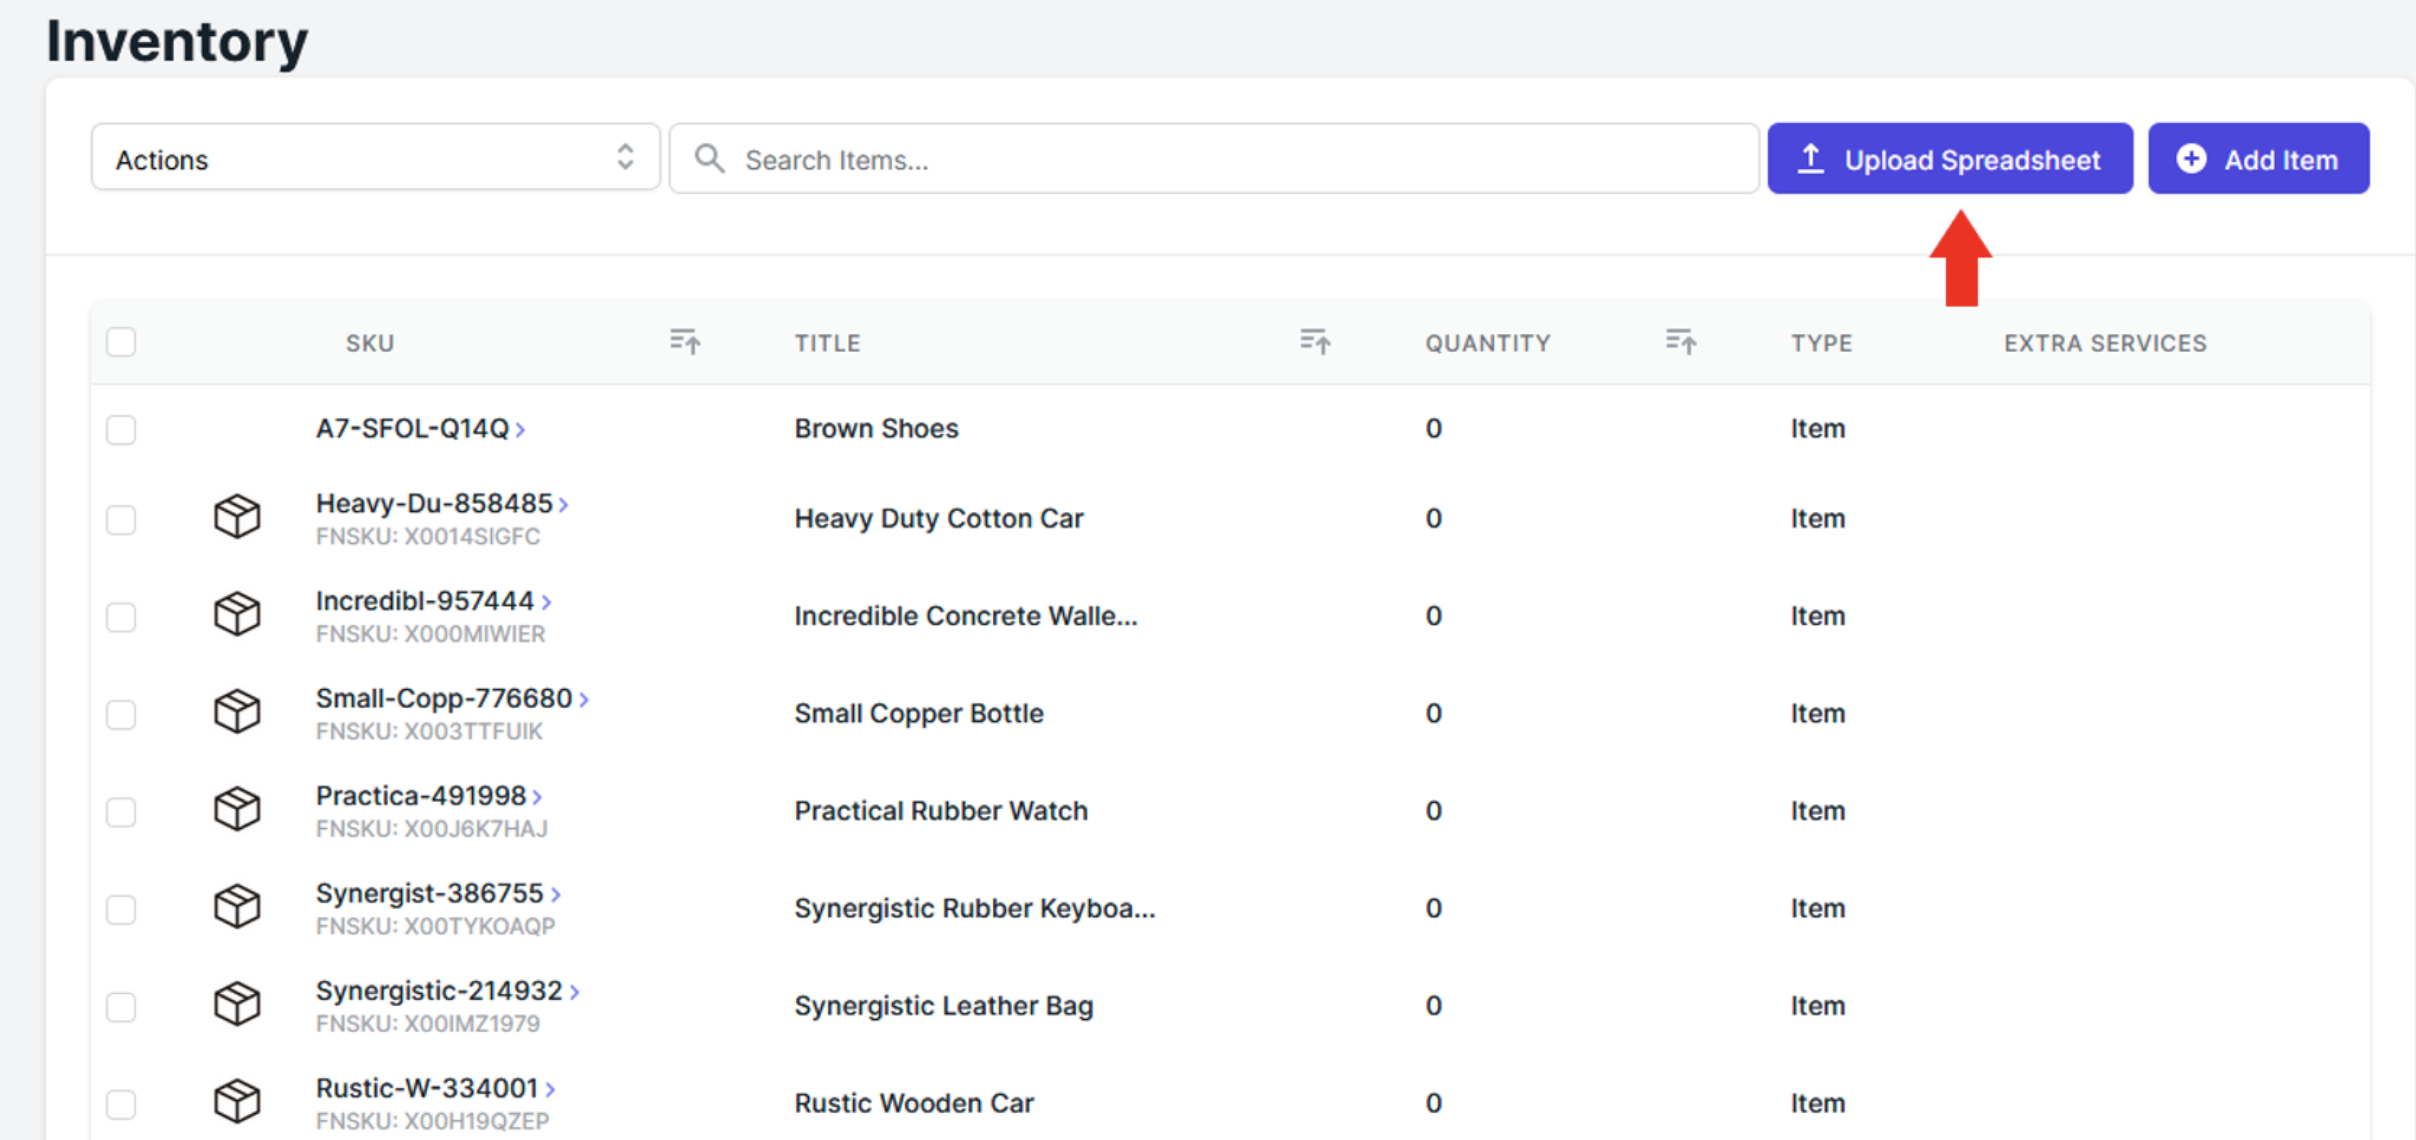
Adding items one at a time can be very time consuming if you have several items to add. By uploading a spreadsheet of items to inventory you can add multiple items at a time. To do this follow these steps:
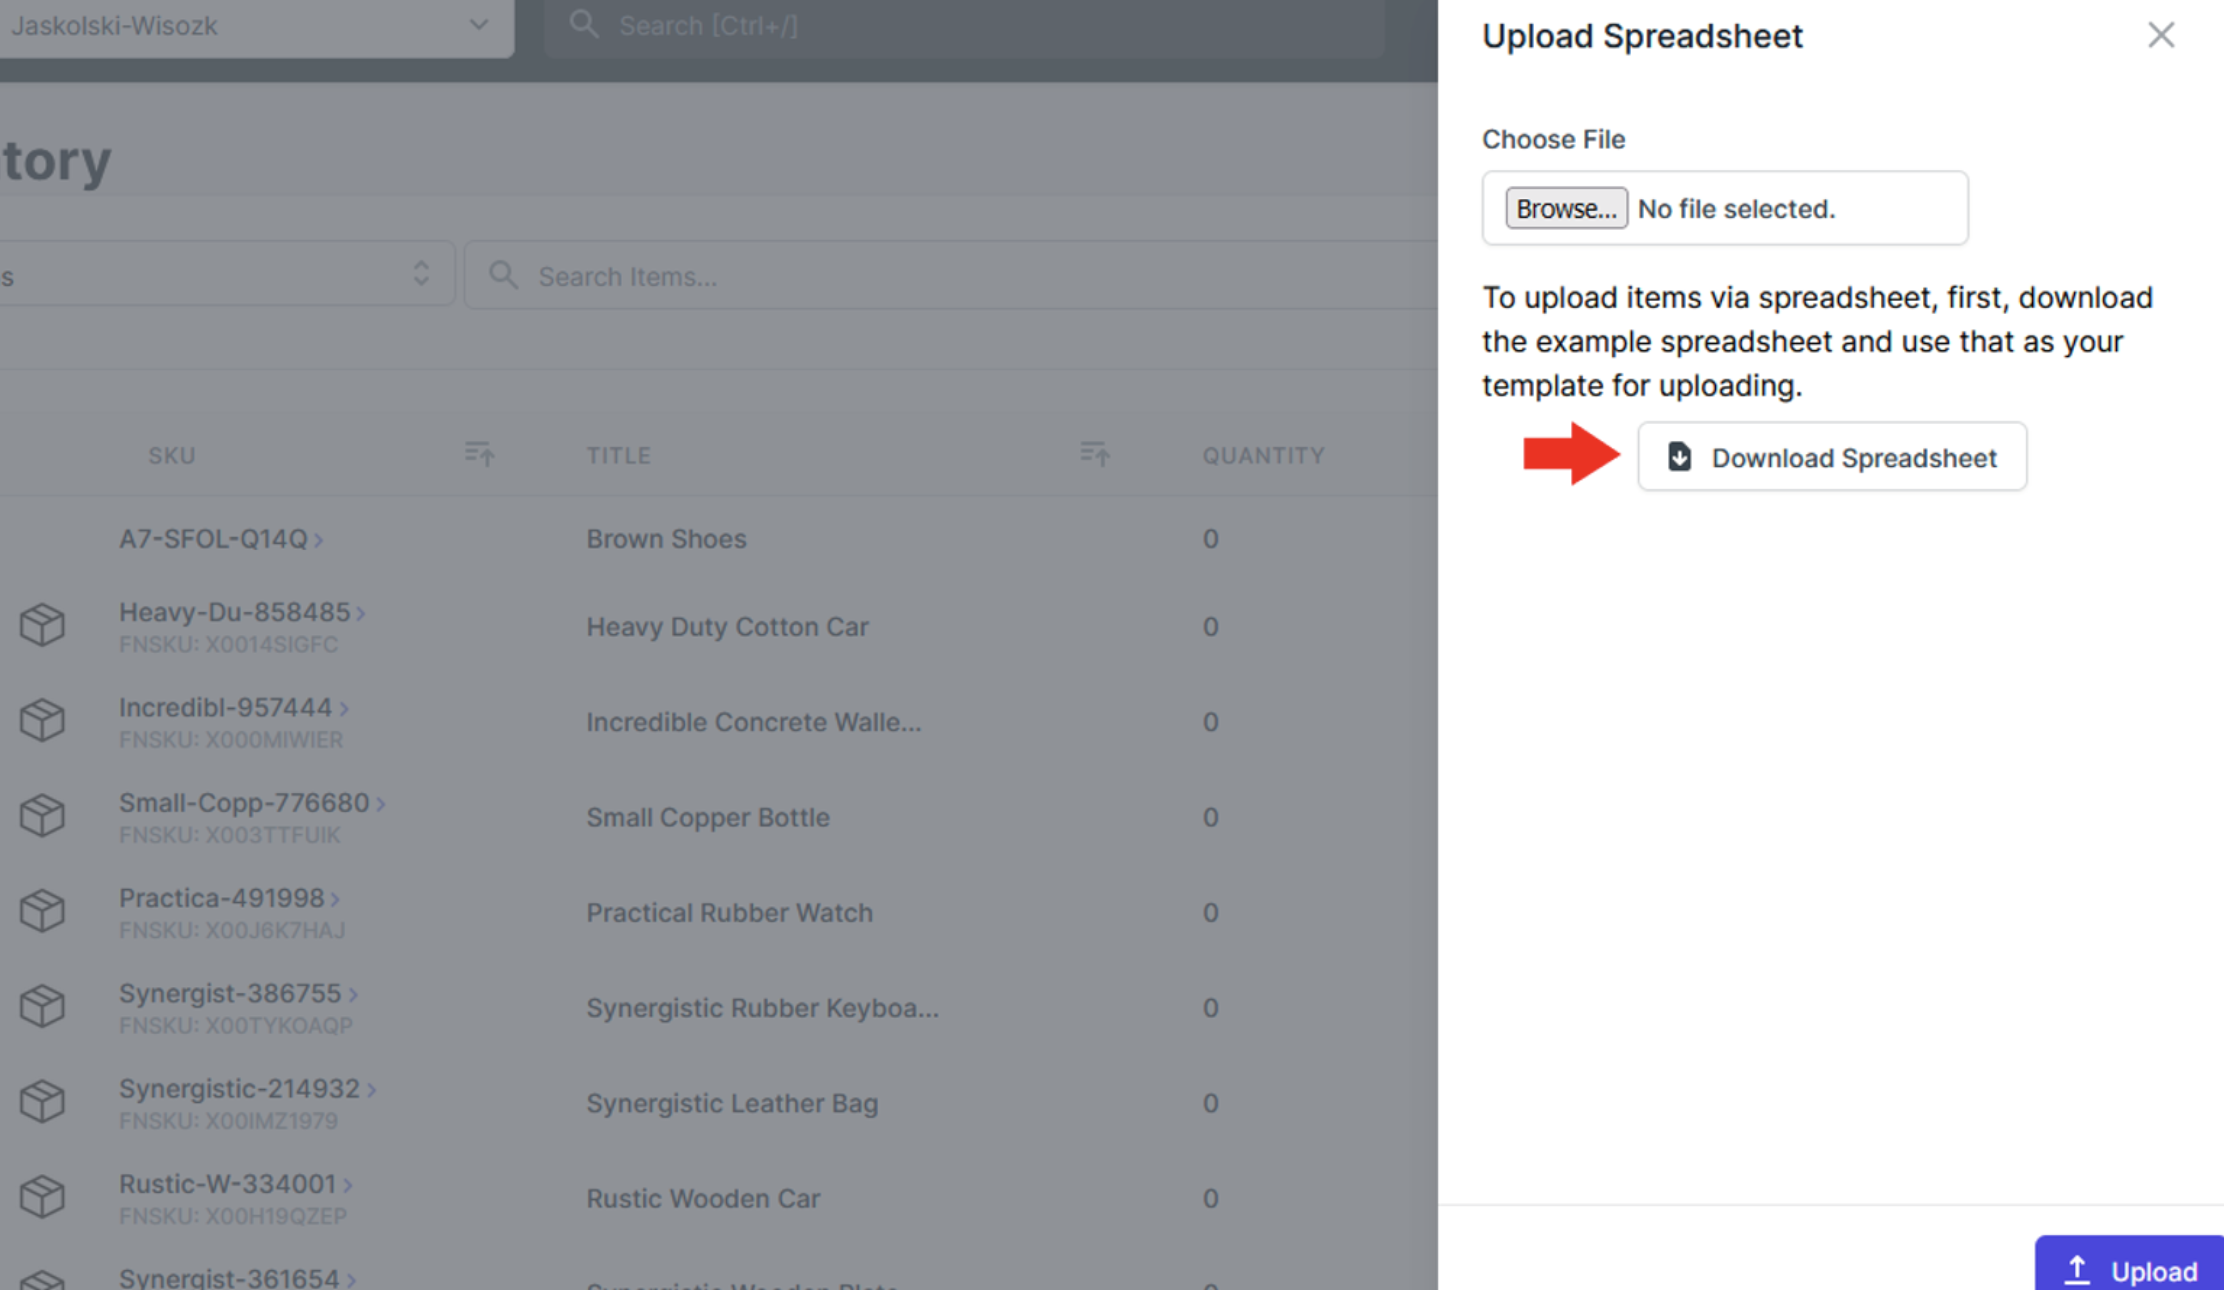
- Open the Inventory page and select “Upload Spreadsheet”.
- A page will slide over. Select “Download Spreadsheet” to download the template spreadsheet.
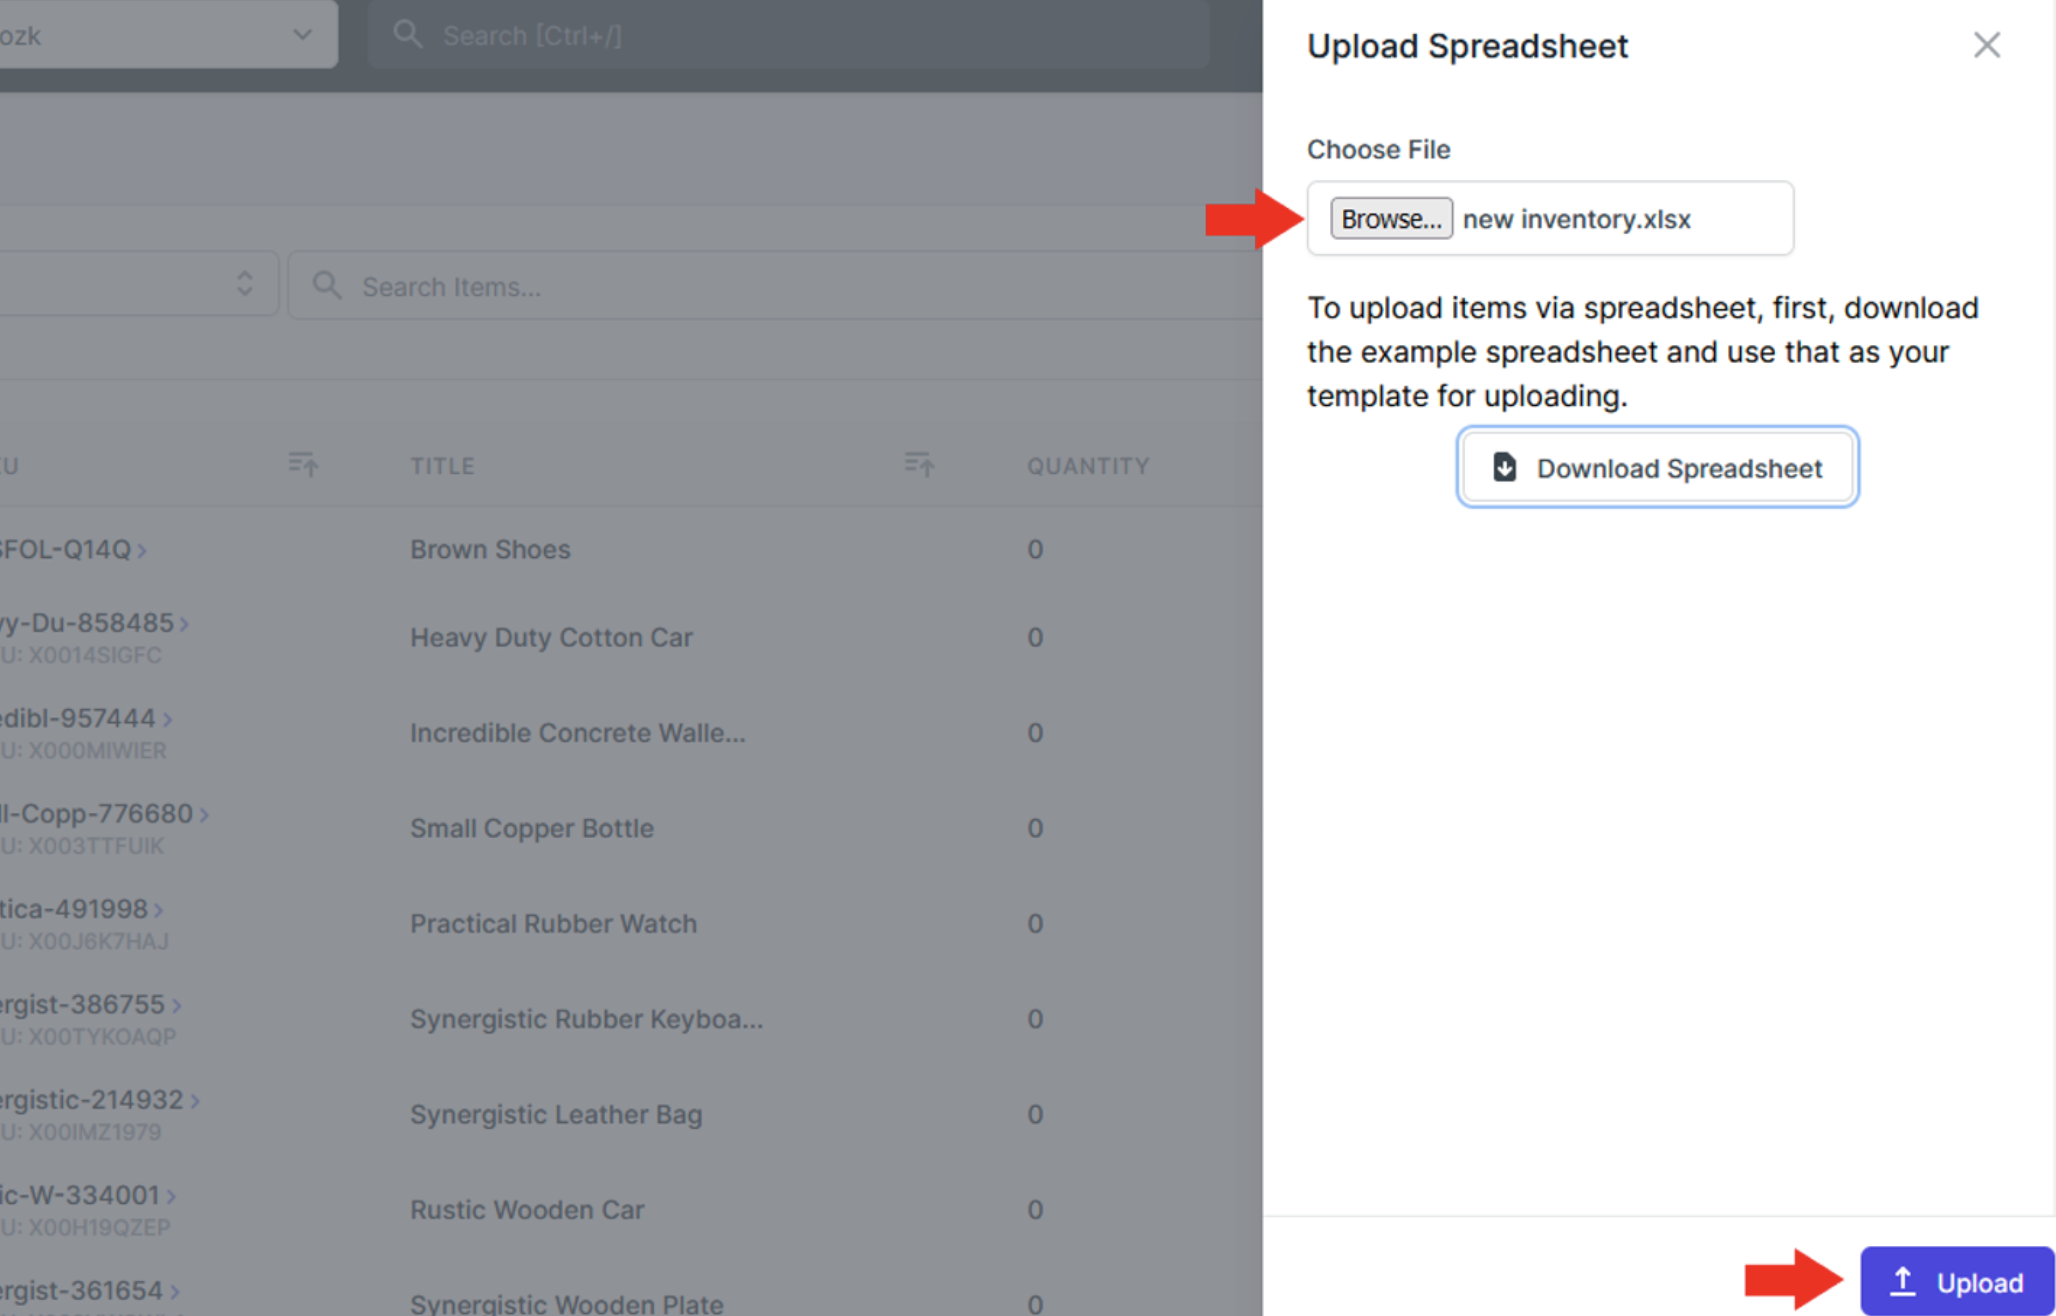
- Fill out the template spreadsheet with your new inventory items.
- You then have to upload your updated spreadsheet of inventory to the portal. You can do this by clicking Browse, choosing your file and then clicking “Upload”.
Delete items from Inventory
⚠️ Items that have been added to shipments, even deleted ones, will no longer be deletable.
To delete an item from Inventory follow these steps:
- Open the Inventory page.
- Select the items of inventory you wish to delete.
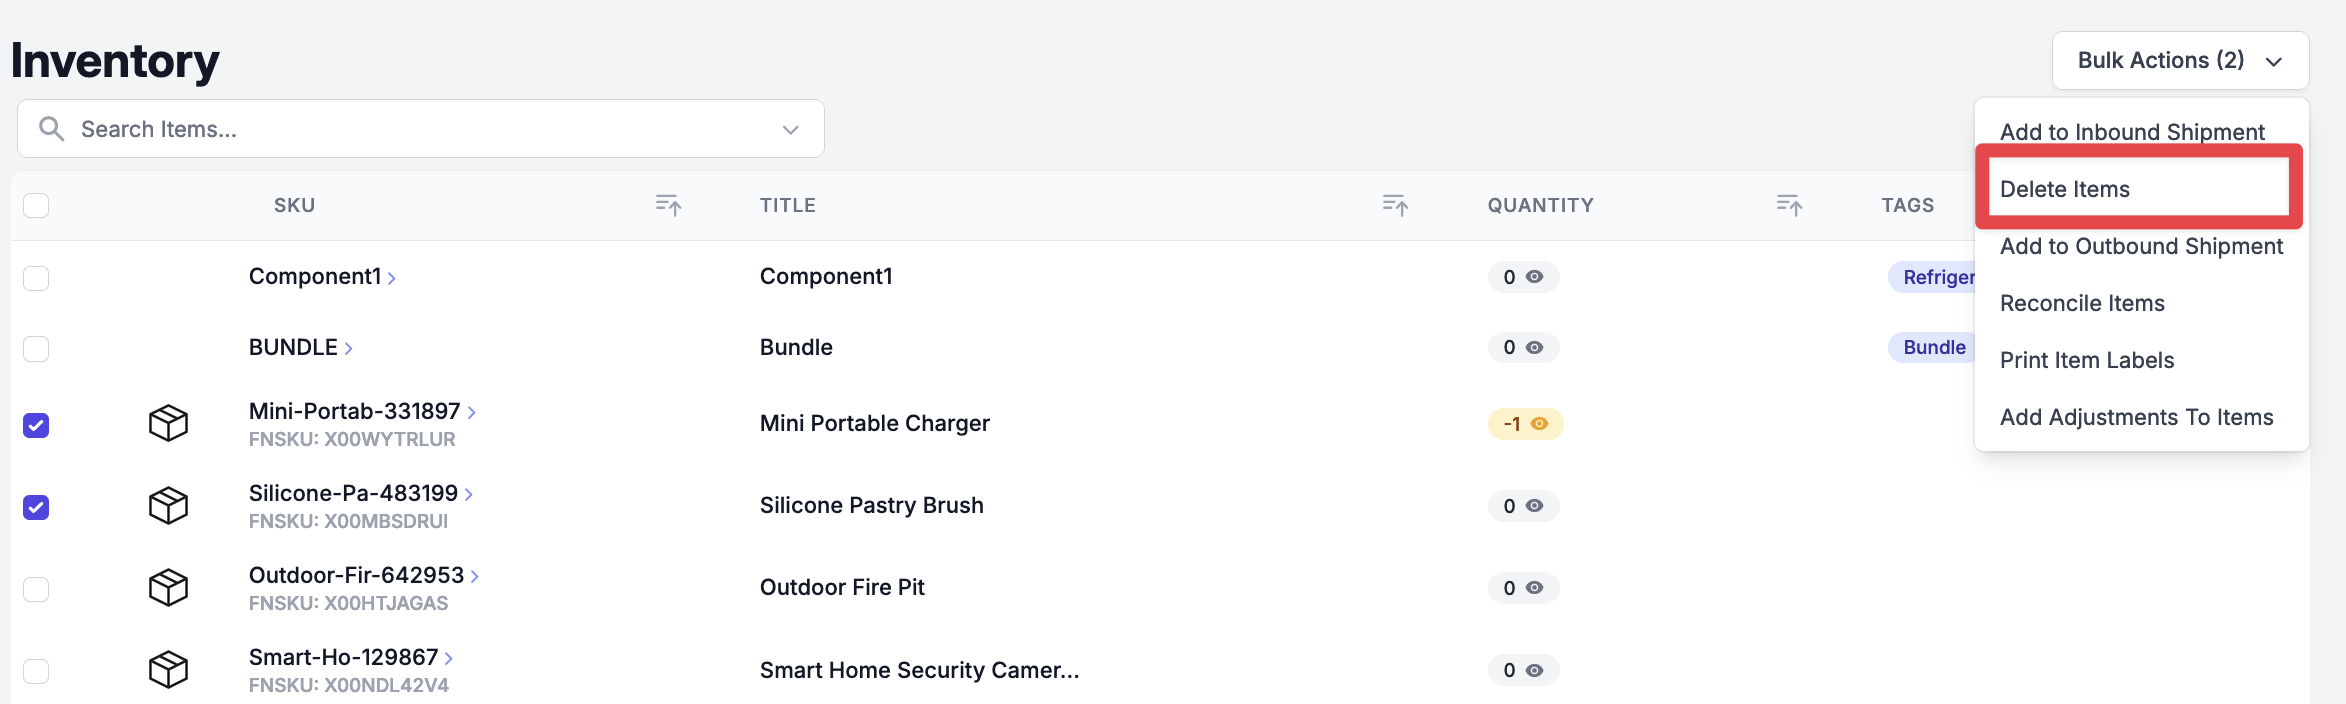
- Once you have all your desired items selected select the “Actions” drop-box and click on “Delete Items”.
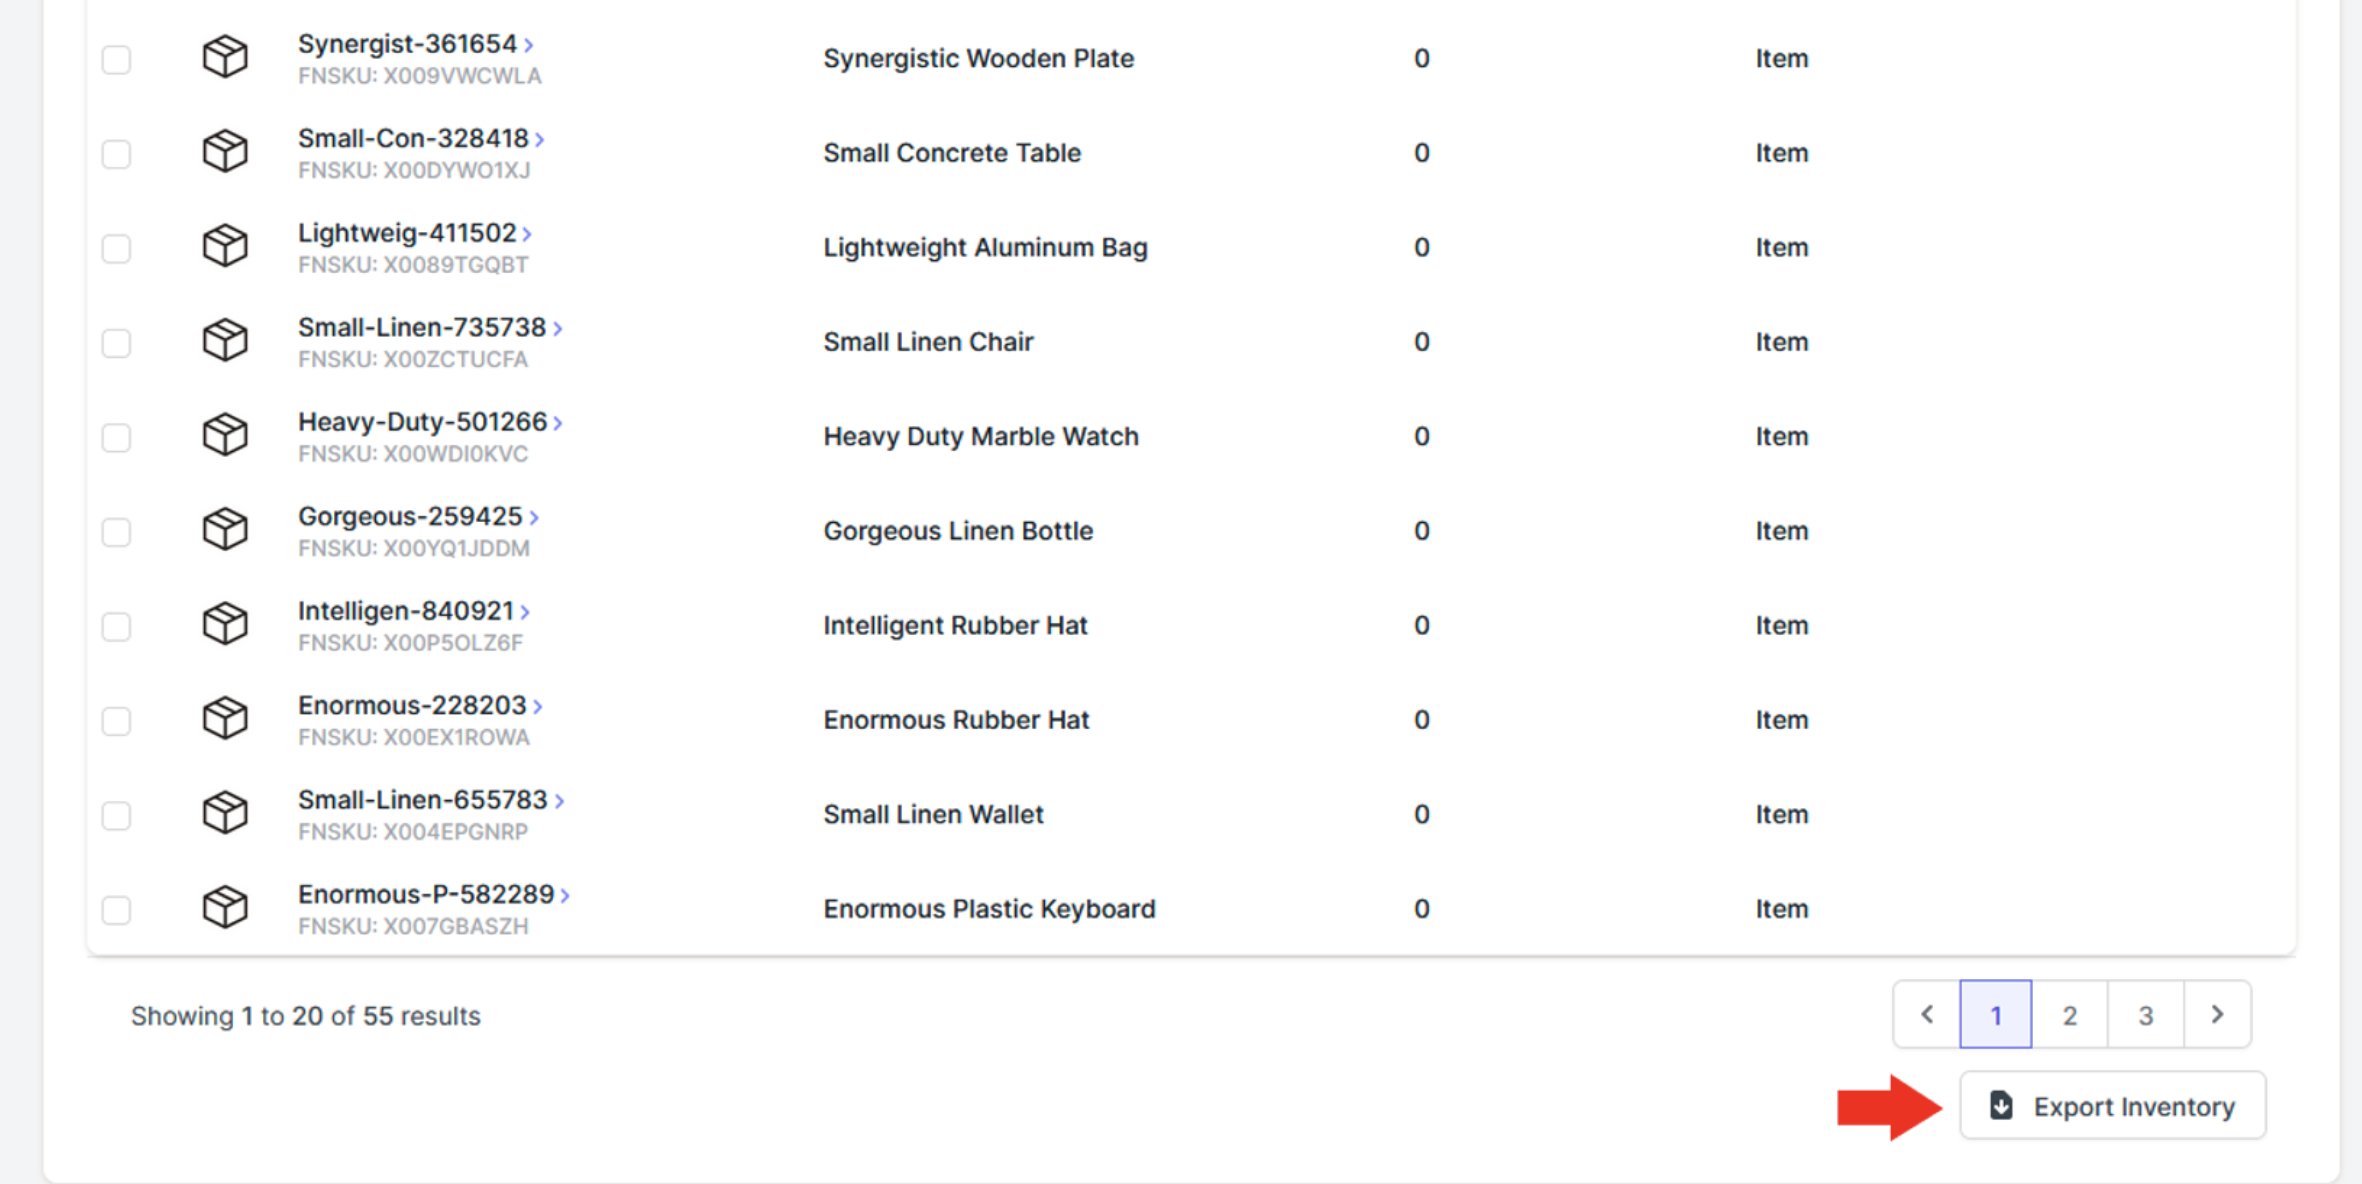
Export Inventory
Exporting your inventory is a very simple process:
- Open the Inventory page and scroll to the bottom of the page.
- Select the “Export Inventory” button.