Configure Channels
Configure Amazon Channel
A key feature of the PrepBusiness portal is that it connects to Amazon. This enables you to sync inventory with Amazon as well as import and create Amazon shipments.
PrepBusiness supports Amazon accounts located anywhere in Europe and North America (US, Canada, Mexico). Brazil and other South American countries are not currently supported.
To configure a client's account to Amazon follow these steps:
- Open the Channel page.
- Select the "Configure" button under Amazon.
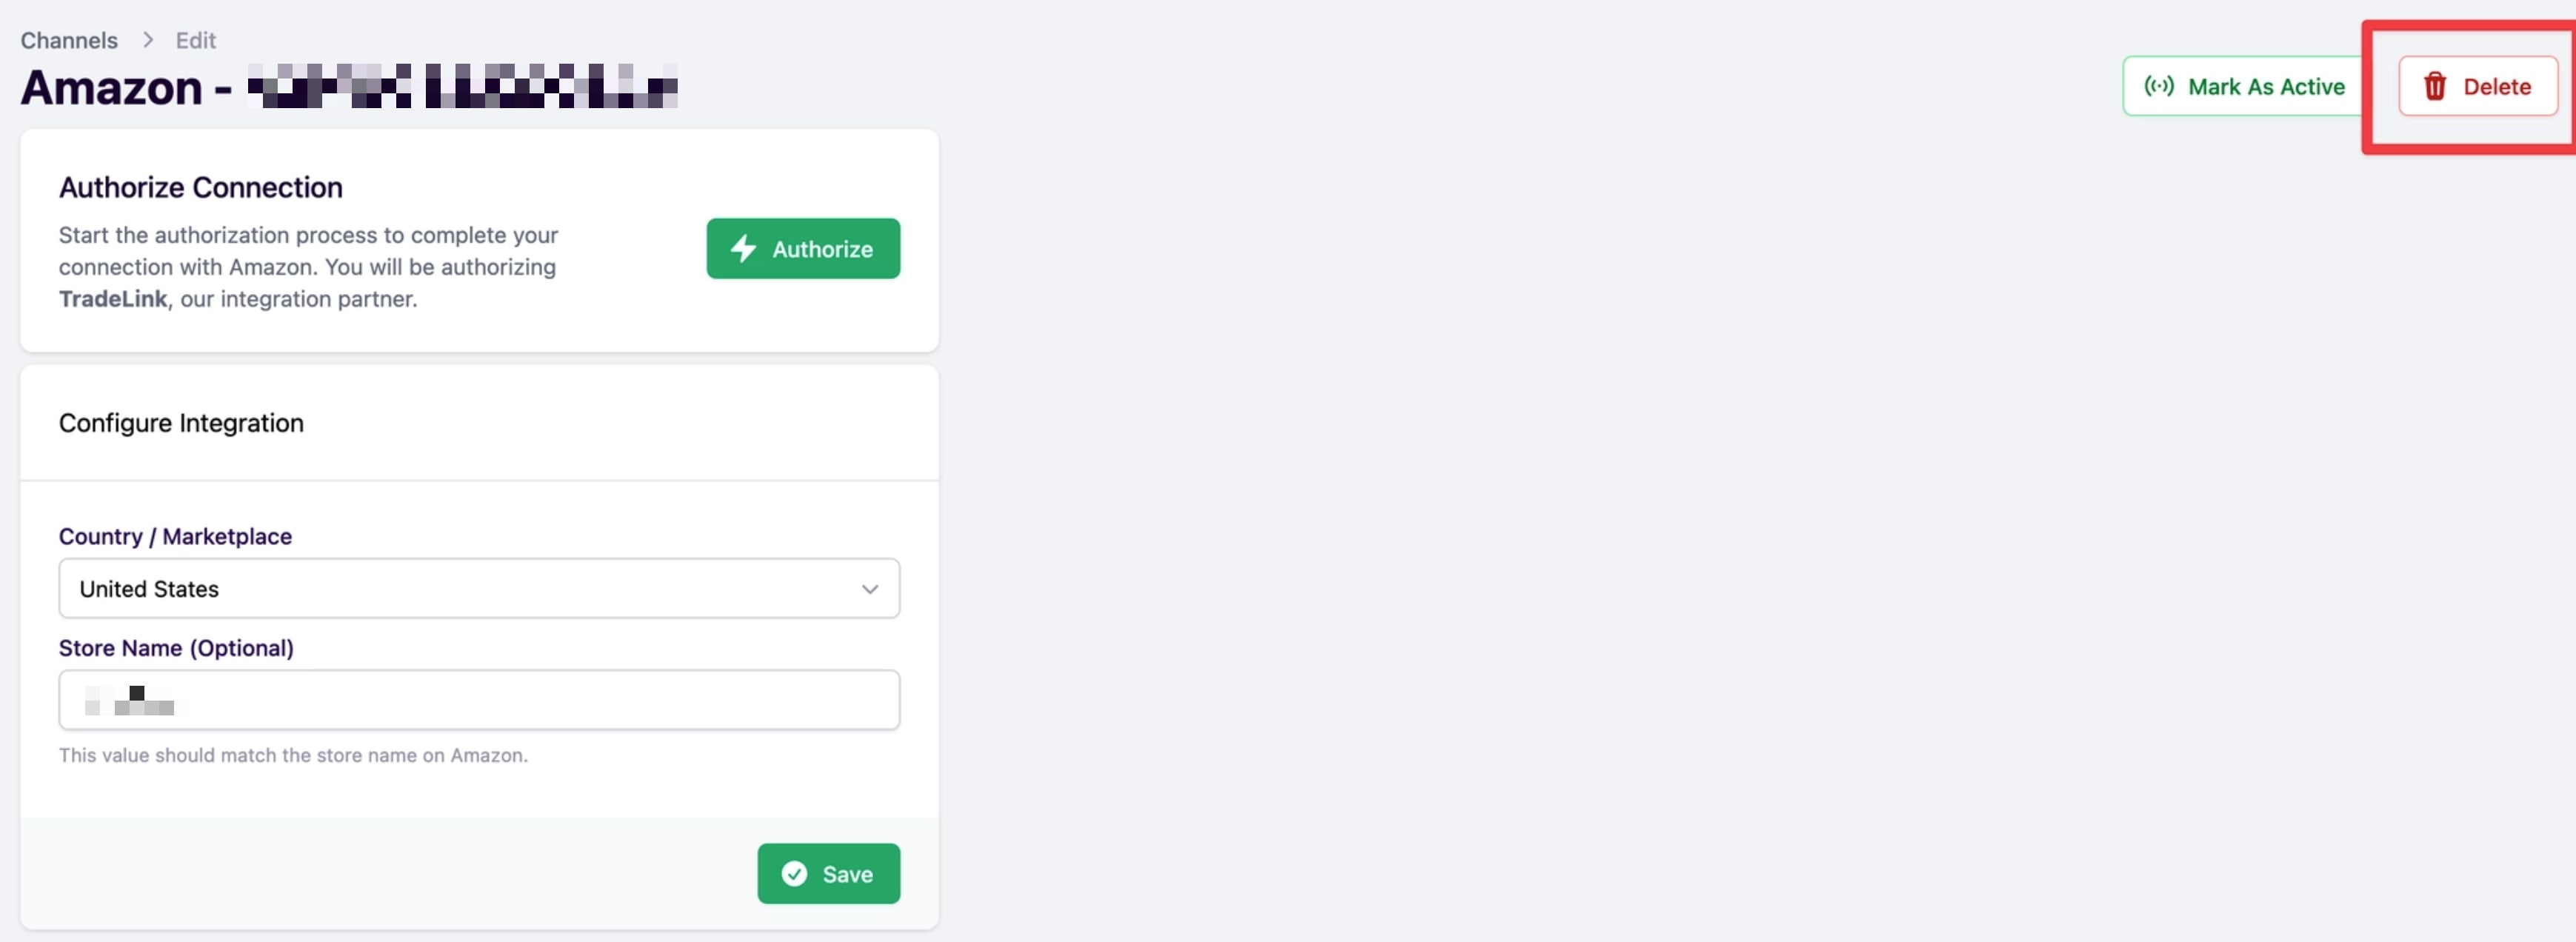
- Select the country your Amazon account is in. You can also enter your store name as a reference.
- Select "Save", and wait for the "Authorize Connection" box to appear.
- Click the "Authorize" button. Amazon will request that you log in to your account to authorize the connection. The integration name we are using is "TradeLink". Click the Confirm button to continue.
Whether you're utilizing FBA or FBM, having access to the various permissions mentioned above is crucial. These permissions are essential for effectively managing and optimizing your operations on the Amazon platform.
- Amazon Fulfillment: This access allows you to efficiently manage inventory and shipping options. You can use Amazon's fulfillment services for storage, packing, and shipping.
- Product Listing: With this access, the Admin can create, update, and manage product listings and identifiers from the portal, such as descriptions and images.
- Inventory and Order Tracking: This access view helps monitor inventory levels and track orders. It prevents stockouts and ensures timely order fulfillment.
- Direct-to-Consumer Shipping: This access enables managing shipping when selling directly to consumers (FBM). Your Admin can select shipping methods and set preferences.
Congratulations, your Amazon account is now connected!
Multiple Regions
To manage multiple Amazon marketplaces for the same merchant, create one channel per region under the same merchant account. Each region is set up as a separate channel.
For EU accounts, you can also select the destination region when creating an FBA shipment plan.
Configure Custom Channel
You can also configure a client's account to a customized channel. To do this follow these steps:
- Open the Channel page.
- Select the "Configure" button under Custom.
- Name your channel and select "Create" to finish.
Walmart / WFS Orders
PrepBusiness does not have a direct Walmart or WFS integration. For WFS order fulfillment, use Outbound Shipments to manage and ship items to Walmart's fulfillment centers.
See Simple Order Fulfillment Using Outbound Shipments for step-by-step instructions.
Sync Inventory to Channels
To sync the inventory you have in your warehouse with Amazon or a different, customized channel, follow these steps:
- On the Channels page select "View Listings" under the channel you want.
- In the top right corner of the Listings page select "Sync Listings".
Edit Channels
Once you are configured to a channel, you can rename it or delete it. To rename a channel, follow these steps:
- Open the Channels page and select "Edit Settings" on the channel you want to edit.
- Change the name of the channel and select "Update" to finish.
Delete a Channel
If you no longer need a channel, you can delete it. Deleting a channel permanently removes the channel and unlinks all of its listings from your products. This cannot be undone.
A channel must be inactive before it can be deleted. If it is currently active, deactivate it first using the Deactivate button in the top right of the channel's edit page.
- Open the Channels page and select "Edit Settings" on the channel you want to delete.
- Select the "Delete" button in the top right of the channel's edit page.